|
My craft club decided to help a fellow craft friend out and make cards for our US soldiers stationed in Hawaii. I am proud to say we made over 300 cards for our US soldiers and their families to say "thank you" for your service and sacrifices...see more below...
0 Comments
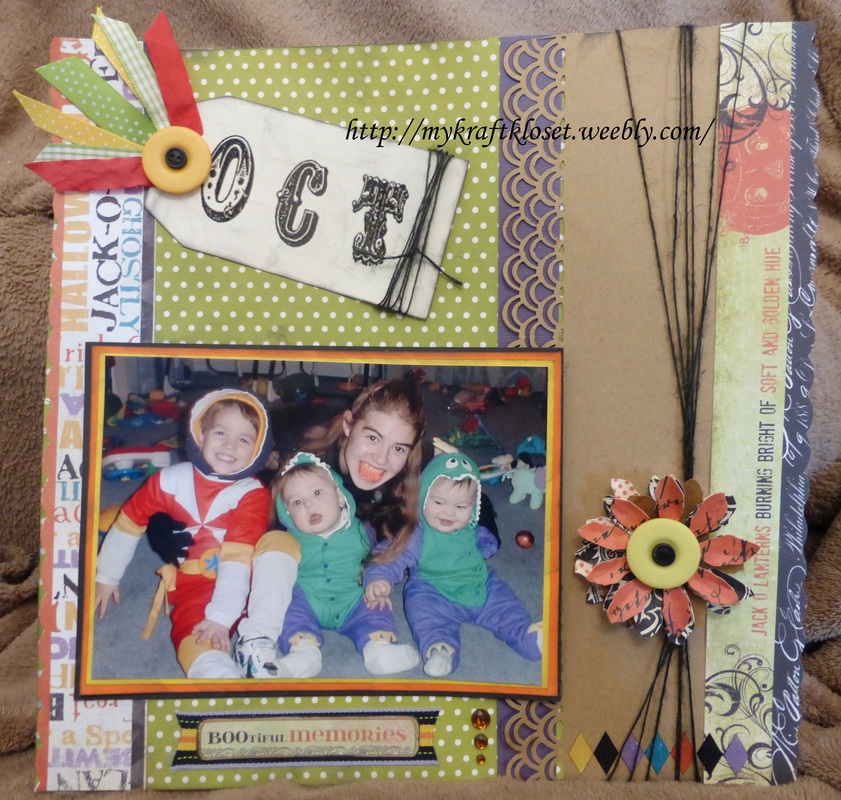
I LOVE Halloween so much I created an album just for scrapbooking our Halloween Memories. I created this page from some of my favorite things and favorite papers. I started with a 12x12" piece of kraft cardstock as my base. I used another piece of kraft cardstock, border punched the edge, backed it with purple cardstock, and adhered to the base page. Then layered several printed papers that all coordinated together and border punched down the left and right sides. I like how the colors, swirls, and edge punches all coordinate together.
I drew inspiration from the colors in my kids costumes and added a double matted border around their picture and adhered to the page. Added diamond rub-ons to the bottom right side that matched the colors on the page. Wrapped the page with black twine that resembled a spider web. Flowers aren't just for Spring and Summer anymore, as I embellished with a flower die cut to create a "spooky" embellishment by using Halloween printed paper. Cut 3-4 flowers out and layer each flower with black mini pop dots for added dimension, add layered buttons, and adhered to the page with glue dots. Stamp sentiment "OCT" on an office tag or die cut tag, heat emboss, ink edges, and wrapped with black twine, and adhere to page. I love ribbon, buttons, and gems. So I had to add them to this scrapbook page too. I cut several different ribbon pieces, scraps would work too, that coordinated with this page and adhered them to the office tag, added layered buttons, and adhered with glue dots. Add a sticker over the bottom ribbon for an extra title and added gems for some sparkle. I find glue dots work the best for adhering ribbon, buttons, and gems. I hope I have inspired you to make something "spooky" of your own. ~Kim Supplies: Bazzill Kraft Cardstock;Fancy Pants "Oct 31" printed paper, ribbon, buttons, and rub ons; Big Shot; Flower die cut; Tag die cut; Tim Holtz Cirque Alphabet stamp set; Versamark watermark clear ink; Inkadinkadoo Black embossing powder; Heat gun; American Crafts ribbon and twine; Martha Stewart double loop border punch; Fiskars scallop border punch; Hero Arts adhesive gems; 3D black mini pop dots; Glue Dots micro and small; Tombow MONO Adhesive Permanent runner Happy Birthday lil' Sister!
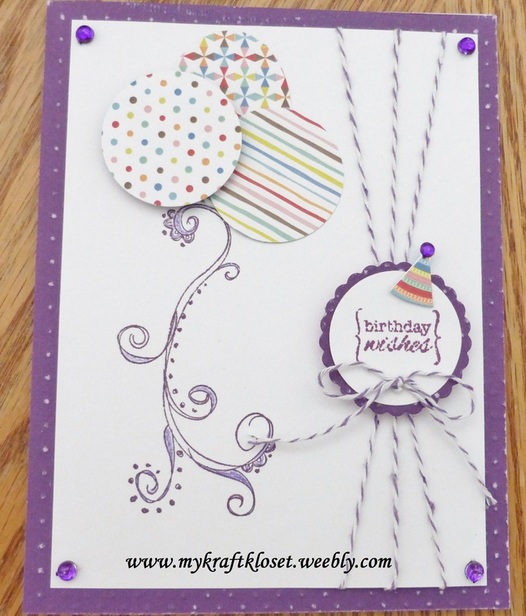
Yes, our Fall birthday's continue. I love Fall A LOT and usually make everybody cards with a Fall theme, but for my sister this year I wanted to do something different. One of her favorite colors is purple, so this is me, going all out for purple...see tutorial below... Happy Birthday, babies!
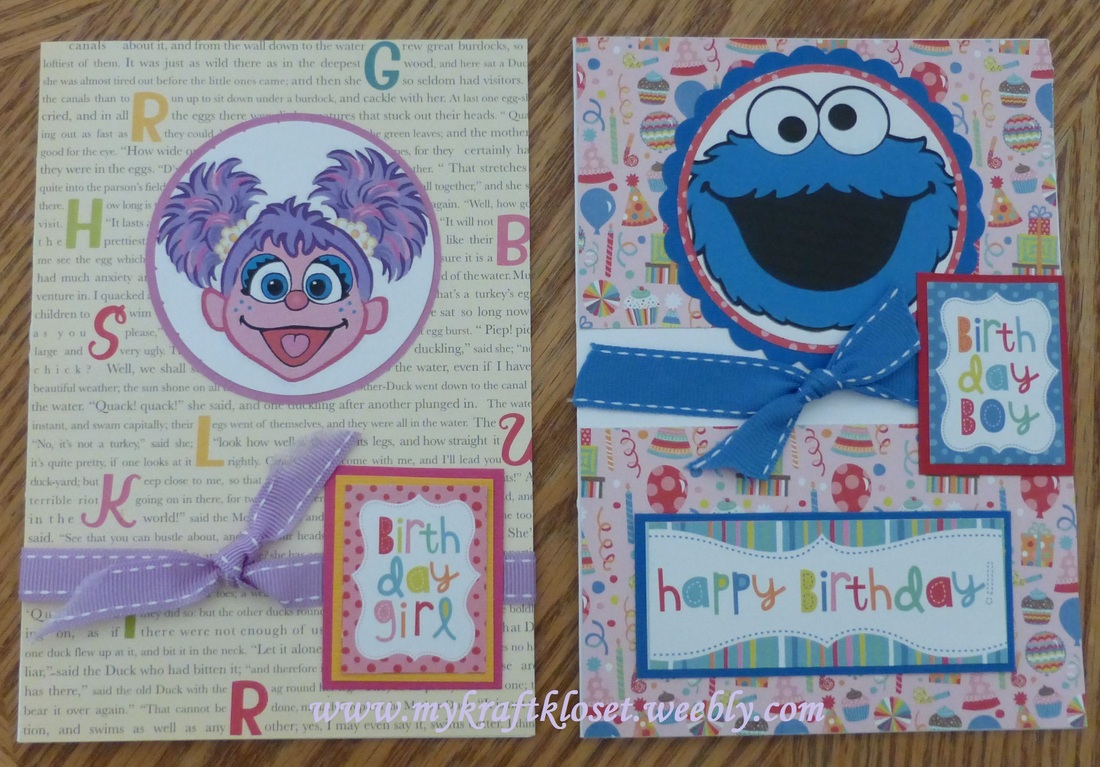
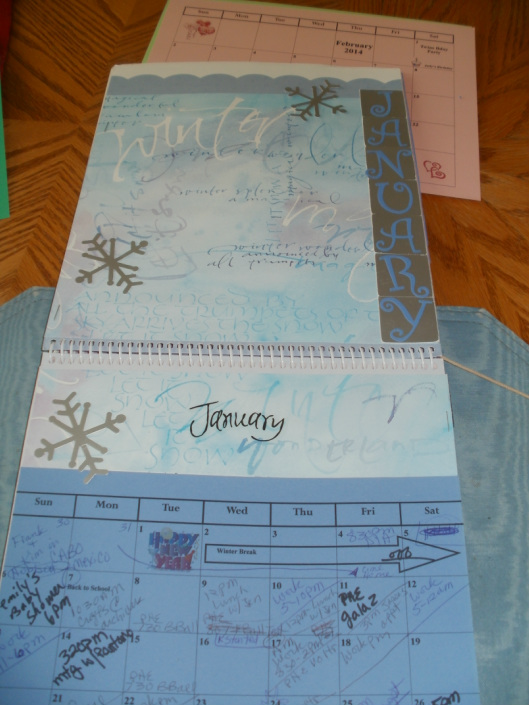
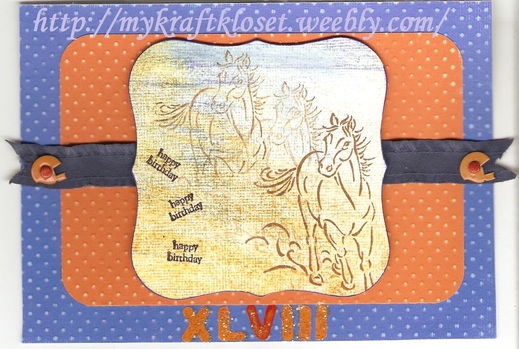
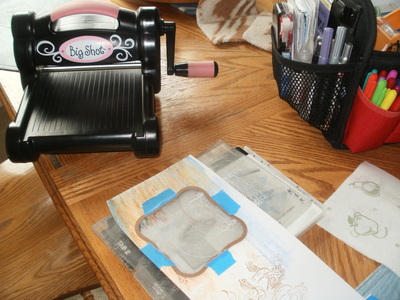
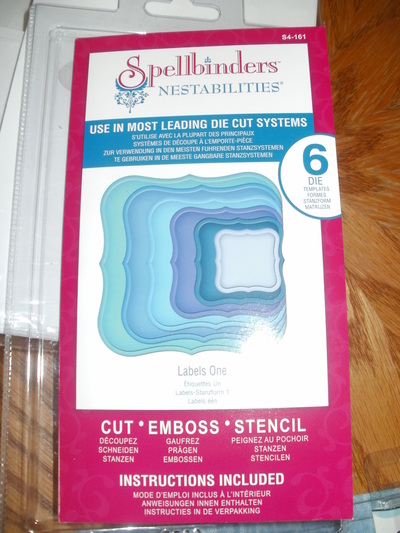
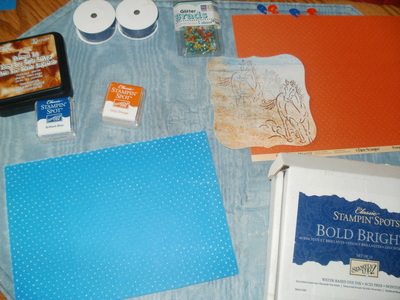
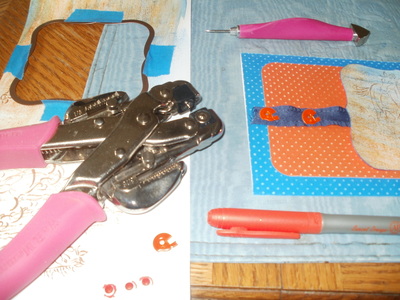
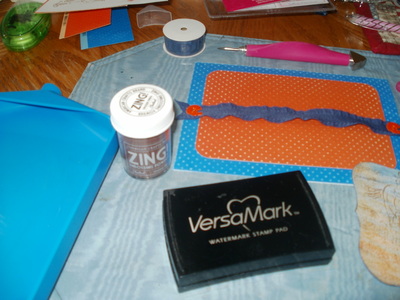
My adorable twin niece and nephew turned 1 year old this month. What a year and so blessed they have joined our family! As I've mentioned before, there are A LOT of Fall birthdays and A LOT of cards to share with you this month. These adorable Sesame cards I created from free clip art I found on the internet and just printed them on white cardstock via my color printer. The clip art was already colored in, so I didn't have to do that step. But you could totally print it in black/white and color it in yourself. I've been playing around with layering, punches, and framelits lately and these creations are what came out of that. It's not often I get to make a "girly" card, so I enjoyed searching for purple and pink things to compliment this card, and thought "Abby Cadabby" resembled my niece. My happy, smiling nephew always has his mouth open, so "Cookie Monster" definitely worked for his card. Supplies: Bazzill solid cardstock October Afternoon "sidewalks" 6x6 paper pad My Minds Eye "hootenanny" 6x6 paper pad American Crafts Premium ribbon Sizzix Circle Framelits 2.5" and 3" Circle punches 3" Scallop circle punch Glue Dots small Tombow MONO Adhesive Permanent runner 5 x 7" finished card sizes 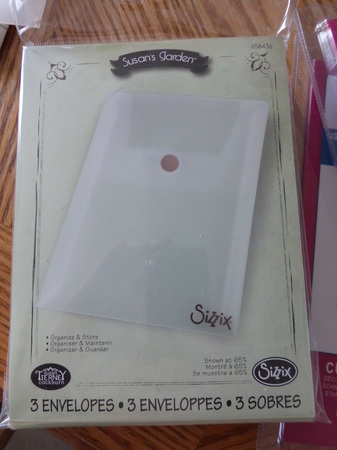 I came across these Sizzix Envelopes the other day and thought I would try them for storing my thin sizzlits dies, framelits dies, and spellbinders nestabilities. And I really like them. I was keeping my dies in their original plastic packaging and that wasn't working. They were long and bulky and I'd scratch myself every time. 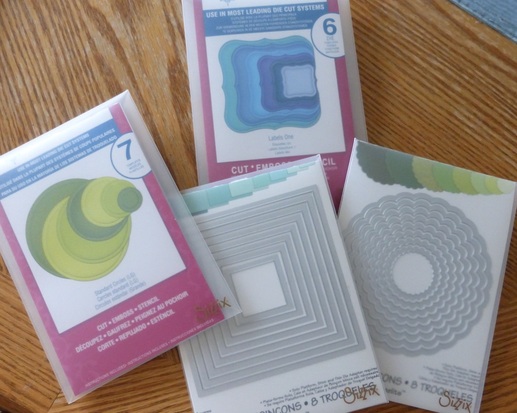 As you can see here the dies fit perfectly in these envelopes and I kept the original packaging insert with the dies, so you can see vendor names and numbers. I'm really liking these envelopes for storage and organization and I need to get some more. Every Tuesday Sizzix has a "Tuesday Teaser" sale and you can pick up some really good deals. Click here to check them out. 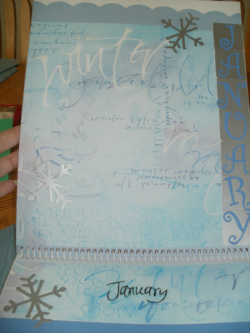 I create a perpetual calendar every year and just reprint the new months on colored cardstock with the new dates, birthdays, holidays, etc...for the new year. So, I can always use the same calendar base and title pages and just replace the cardstock with the new monthly dates. Tip: I created my calendar on MS Publisher, but you can use any word document. I save mine so I can use it year after year and just change the numbers, holidays, clip art, etc...to update it for the new year. 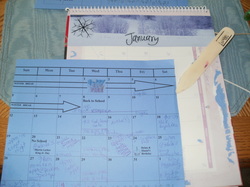 I took an old calendar that had thick pages and a spiral binding, which was great for flipping to the next month. I use a bone folder to lift off the previous years pages. Or you could use un-do, that works great too. Tip: Un-do is the best product for getting off stickers or anything with an adhesive backing. It neutralizes the sticker for you to take it off and when it dries it's sticky again to reuse on something else. I love it for scrapbook pages when I change my mind. Or getting off stickers from my kids furniture. 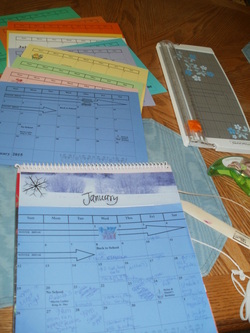 I use "green" repostionable adhesive to easily take off last years pages and adhere this years pages. As you can see, I like to use different colors with each month and match the holiday or season. I added clear calendar stickers for my months, clip art, and die cuts to each page. I adhered some of them with my Xyron sticker maker. My calendar goes from January to January so it gives me a month to create my next calendar. I promised I'd show you the NFL Denver Broncos Birthday card for a super bowl birthday party this weekend. It turned out really good. I surprised myself and had the right orange and blue Bazzill cardstock. LOL. Here are some of the tools I used: Xyron sticker maker for the navy Pebbles ribbon, spellbinders label frames, stampin up ink, Ranger distress ink, eyelets and the crop-a-dile (LOVE this tool), versamark ink, and chestnut brown zing embossing powder for the "happy birthdays" on the front. Go Broncos!
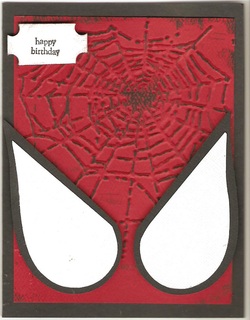 Spider man card: I used the a spider web dry embossing folder. Inked up a brayer with black ink and rolled it over the web. I die cutted two hearts to make the eyes. One heart on black cardstock at 3 1/2" and the other heart on white cardstock at 3" and cut them in half. I wanted to add some glitter, but my husband didn't think boys cards needed to have bling. LOL...I think a little on the web would have been cool, but I think it turned out pretty good. 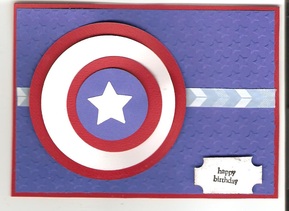 Captain America card: I used the star dry embossing folder for the background. Then I used the spellbinders circle frame set to get all the layers correct. The shield looks a little wonky or not centered because I made it 3D with foam pop dots between the circles and it wouldn't scan evenly. But it is evenly spaced in person and turned out pretty well. |
Hi! Welcome to
My Kraft Kloset I'm Kim Klinkovsky, a Published Card Maker, Blogger, Scrapbooker, Jewelry Maker, Wife to an US Army Veteran, Mom to 4 kids (including twins) and this is my crafty place. It's interrupted by life, fueled by coffee & sweet tea or a cocktail--Ha! And where I share all my crafty adventures. *** Follow Social Media Channels above to see more! ©2013-©2024 *** ***
I, Kim Klinkovsky am the legal copyright holder ©2013 - ©2023 of all the material (pictures, text, & artwork) on this website and blog. It may not be used, reprinted, copied, submitted, sold, or published without my written consent. *** I'm on a couple Design Teams and in a few affiliate programs that have given me products to try or use, but my opinions are my own and I use what I like. Affiliate links are listed below and listed in the supply lists of my projects. They allow me to receive a small commission if you click on those links or purchase any products, at no extra cost to you. It helps me contribute to my family & keeps this blog going. Thank you for your support! Affiliate Links:
Design Teams: Publications Awards: Categories
All
Archives
April 2024
Past
Design Teams: FTC Declaration:
**As a designer I occasionally receive product(s) to use in some of my posts. Some posts may contain Affiliate links at no cost to you.** Stamps and other products shown on this website/blog may have been donated for promotional purposes by the company(ies) named in the post. All opinions are my own and Affiliate links and programs help to support my family and keep this site going. Disclosure Statement for Affiliate Links Policy is valid from: 31 December 2013 To get your own policy, go to: www.disclosurepolicy.org |
















 RSS Feed
