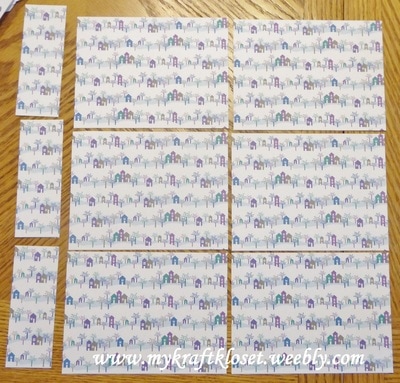
I started with 8.5x11" blue cardstock, cut in half long ways at 5.5", then you have two thick strips, folded in half will leave you with two A2 size cards out of each sheet of cardstock. And for mass producing cards, this is so helpful. The fastest and easiest way to make a lot of cards in a short time is with a "one sheet wonder" technique. And there are several different ones online to get the most out of one sheet of paper. I chose this fun wintery suburbia 12x12 sheet of pattern paper, cut it at every 4", which will leave you with 3 thick strips. Then I cut those at every 5", which will leave you with 6 patterned front panels and some scraps you can use inside your cards or to make other cards. Adhere to the blue card bases.
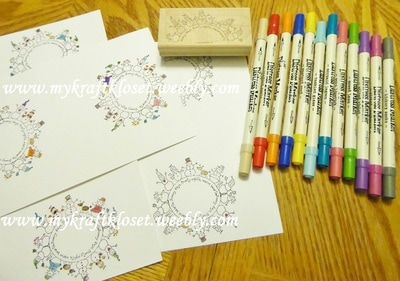
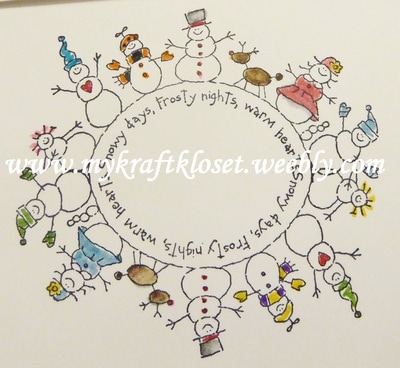
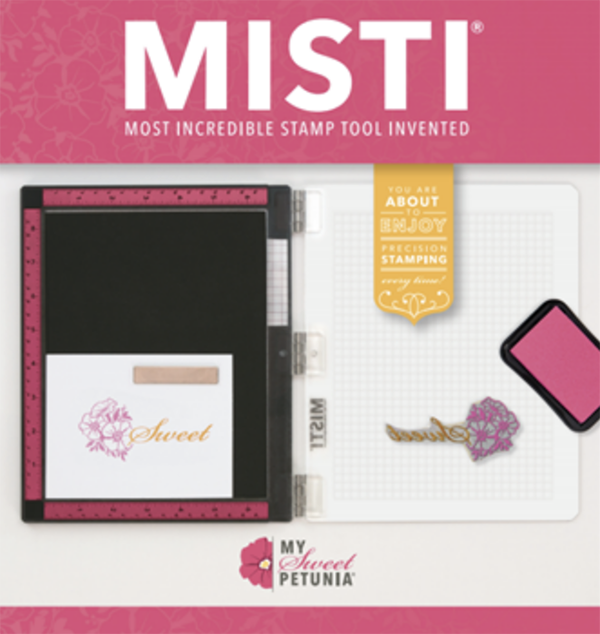
Since I'm not using any water, any type of white cardstock will do. For this project I used some white cardstock scraps. As you can see the snowman stamp I chose has a half circle, so I stamped it twice in black ink to complete a circle, as best as I could line it up. IF I had my stamp un-mounted I could have used my MISTI and lined them up better, but I think I did pretty good eye balling it. And colored the snow people with Distress Markers, a water based marker, and used a blender pen to blend a few parts, like the snowmans top hat and the reindeer. Then added a touch of bling with a clear glitter pen on some of the snow people too. Because I like my cards to sparkle.
Then I noticed I stamped to close to the bottom of my cardstock, which normally would upset me, but as crafters, we think outside the box and it was going to be ok, because I was NOT going to re-stamp and color these all over again. I could of, but why? I've learned over the years to use whats in front of me and FINISH the project. It's ok to make mistakes in art. I say it all time "there is no right or wrong in art." And nobody but you knows where your mistakes are.
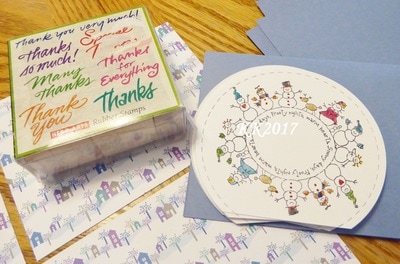
So onto "plan B" which I lined up the circle die cut on the snow people circles to where it cut off the bottom and now I think it resembles a snow globe, don't you? I used this wonderful paper kit, which I love doing, because everything coordinates from the paper to the embellishments. I adhered a powder blue scalloped paper ribbon strip across the suburbia panel. Then adhered my "snow globes" to each card. Stamped "thank you" in the center of each globe in blue ink. And added a few metallic snowflakes to finish them up and kept it flat for mailing.
I hope I've inspired you to make resolutions, think outside the box, or to make more cards out of your gorgeous pattern paper. Thanks for stopping by and if you like what you see, click the pink button and follow my crafty adventures and never miss a post or giveaway. ~Kim
Little Red Wagon Challenge #377- Thank You!
CYCI#145
7 Kids Challenge #4 Anything Goes
Simon Says Stamp Monday Challenge: Chill Out
The Paper Girls Challenge # 120 - Patterned Paper
Tic-Tac-Toe Challenge ~ J1117 (winter theme, blue, pattern paper)
Little Red Wagon Challenge # 376 - 2017 Resolutions
Supplies used: Stampin Up products: cardstock base, snowman stamp is from the set "the world over" retired, but you can still find online, blue ink, and blender pen; Hero Arts Sentiment stamp set; Memento Tuxedo Black ink; Bazzill and AC white cardstock; Doodlebug Polar Pals Kit: pattern paper, paper border, metallic snowflakes; Big Shot Machine; Gina Marie Designs stitched circles die cut; Ranger Tim Holtz Distress Markers; Atyou Spica Clear Glitter Pen
































 RSS Feed
