Even though it’s Fall where I am, we are having an Indian Summer with 70-80 degree weather. I can't complain, because it's NEVER like this. Even in Colorado where we can have all four seasons in one day. It's still rare. But I won't hold my breath...it's almost always cold, rainy, or snowing on Halloween and I still take my kids trick or treating. But for a few more weeks we can go outside and enjoy the mountains, beach, or a lake.
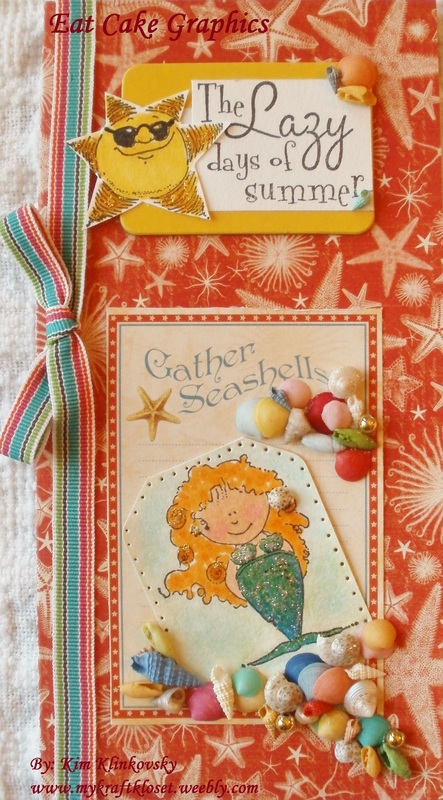
So, because of this wonderfully warm weather I was inspired to make this card to remember the days of being at the beach, gathering seashells, and dreaming of mermaids. Or getting in a few more warm lazy days. I received all these precious shells and beads from my Mother-in-law and adhered them with glossy accents, as it dries clear. I knew I wanted to use the shells with this adorable Eat Cake Graphics mermaid stamp...
So, because of this wonderfully warm weather I was inspired to make this card to remember the days of being at the beach, gathering seashells, and dreaming of mermaids. Or getting in a few more warm lazy days. I received all these precious shells and beads from my Mother-in-law and adhered them with glossy accents, as it dries clear. I knew I wanted to use the shells with this adorable Eat Cake Graphics mermaid stamp...


 RSS Feed
