|
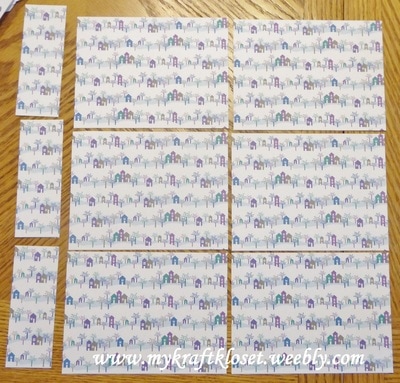
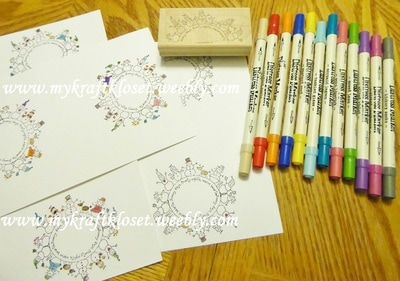
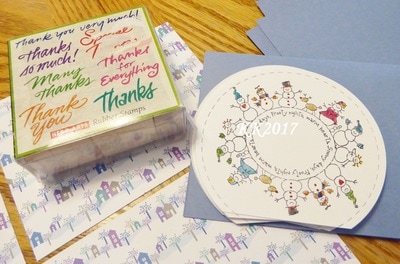
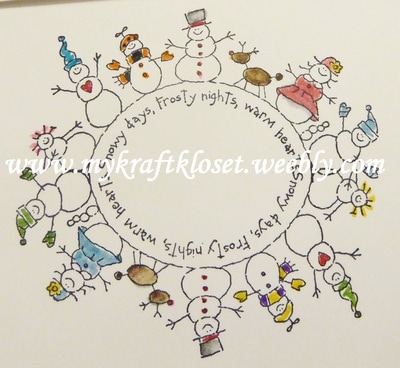
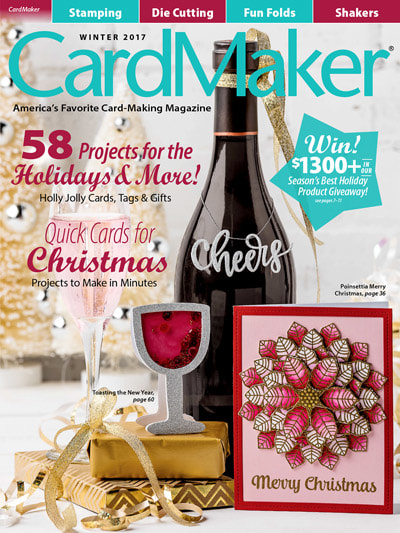
Happy New Year! I hope 2017 finds you happy, healthy, and crafty. And speaking of crafty I continue our family tradition of making "thank you" cards after the holidays. I was taught by my mom, who was taught by her mom, to send thank you notes for gifts. And it's my ongoing resolution to continue that tradition with all four of my kids too. Of course in today's day and age they would rather send an email note, which I think is better than nothing, I prefer they do it properly. So, if I make the handmade cards then they will write a special note and sign them...
11 Comments
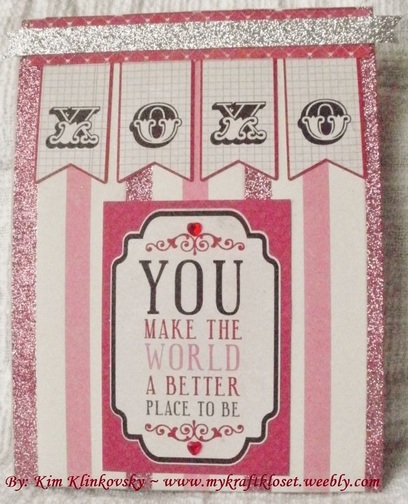
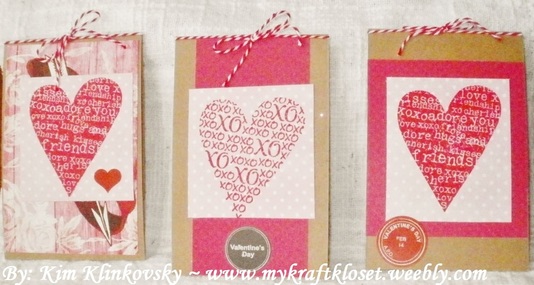
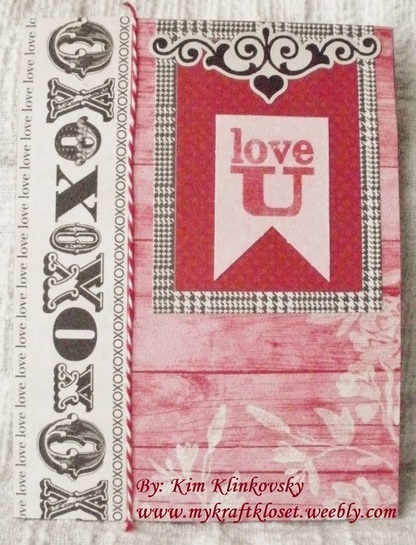
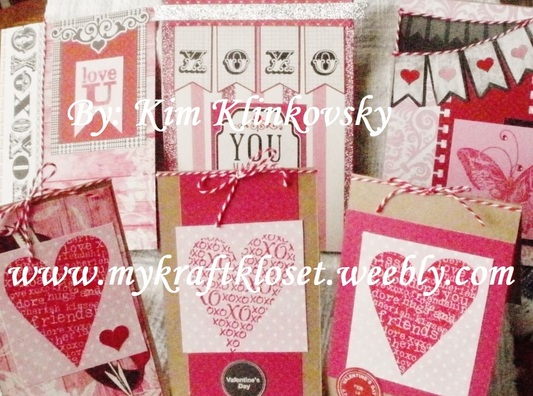
You still have time to make quick and easy Valentines cards for your loved ones. I made these for my four kids with one paper kit that included coordinating paper and stickers, in addition to a heart stamp set.
The first card is for my daughter and I wanted it pink, glittery, and very girly with lots of sparkly bling. Her card is layered paper, stickers, glitter ribbon, adhesive heart gems, and has No stamping. And for my three son's I wanted their cards masculine, simple, red, and full of hearts. These are quick and easy cards for not only Valentines day, but also birthdays, anniversaries, and any day you want to show your loved ones you care. Happy Valentines Day! ~Kim Do you make cards for Valentines Day? Sometimes I do, time permitting, and this year I had time to play with these gorgeous papers, stamps, and stickers. So, whether you celebrate Valentines Day or not here are a few ideas for some quick cards to make and give your loved ones on the 14th or anytime of year.
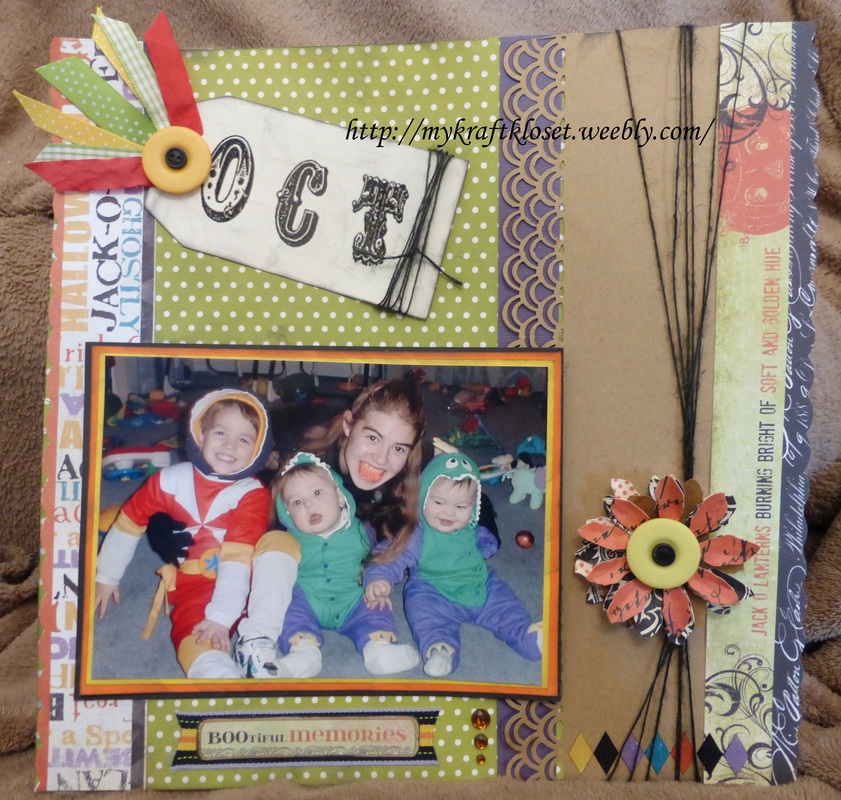
It doesn't have to take a lot of supplies to make cards. I recommend using a kit or a collection because your paper, stickers, and sentiments all coordinate. I have four kids, so I wanted to make each of them a card. I started with kraft cardstock as my card base on all of them, layered pattern paper and added these wonderful stickers or stamped images. See tutorial and supplies listed below... I LOVE Halloween so much I created an album just for scrapbooking our Halloween Memories. I created this page from some of my favorite things and favorite papers. I started with a 12x12" piece of kraft cardstock as my base. I used another piece of kraft cardstock, border punched the edge, backed it with purple cardstock, and adhered to the base page. Then layered several printed papers that all coordinated together and border punched down the left and right sides. I like how the colors, swirls, and edge punches all coordinate together.
I drew inspiration from the colors in my kids costumes and added a double matted border around their picture and adhered to the page. Added diamond rub-ons to the bottom right side that matched the colors on the page. Wrapped the page with black twine that resembled a spider web. Flowers aren't just for Spring and Summer anymore, as I embellished with a flower die cut to create a "spooky" embellishment by using Halloween printed paper. Cut 3-4 flowers out and layer each flower with black mini pop dots for added dimension, add layered buttons, and adhered to the page with glue dots. Stamp sentiment "OCT" on an office tag or die cut tag, heat emboss, ink edges, and wrapped with black twine, and adhere to page. I love ribbon, buttons, and gems. So I had to add them to this scrapbook page too. I cut several different ribbon pieces, scraps would work too, that coordinated with this page and adhered them to the office tag, added layered buttons, and adhered with glue dots. Add a sticker over the bottom ribbon for an extra title and added gems for some sparkle. I find glue dots work the best for adhering ribbon, buttons, and gems. I hope I have inspired you to make something "spooky" of your own. ~Kim Supplies: Bazzill Kraft Cardstock;Fancy Pants "Oct 31" printed paper, ribbon, buttons, and rub ons; Big Shot; Flower die cut; Tag die cut; Tim Holtz Cirque Alphabet stamp set; Versamark watermark clear ink; Inkadinkadoo Black embossing powder; Heat gun; American Crafts ribbon and twine; Martha Stewart double loop border punch; Fiskars scallop border punch; Hero Arts adhesive gems; 3D black mini pop dots; Glue Dots micro and small; Tombow MONO Adhesive Permanent runner |
Hi! Welcome to
My Kraft Kloset I'm Kim Klinkovsky, a Published Card Maker, Blogger, Scrapbooker, Jewelry Maker, Wife to an US Army Veteran, Mom to 4 kids (including twins) and this is my crafty place. It's interrupted by life, fueled by coffee & sweet tea or a cocktail--Ha! And where I share all my crafty adventures. *** Follow Social Media Channels above to see more! ©2013-©2024 *** ***
I, Kim Klinkovsky am the legal copyright holder ©2013 - ©2023 of all the material (pictures, text, & artwork) on this website and blog. It may not be used, reprinted, copied, submitted, sold, or published without my written consent. *** I'm on a couple Design Teams and in a few affiliate programs that have given me products to try or use, but my opinions are my own and I use what I like. Affiliate links are listed below and listed in the supply lists of my projects. They allow me to receive a small commission if you click on those links or purchase any products, at no extra cost to you. It helps me contribute to my family & keeps this blog going. Thank you for your support! Affiliate Links:
Design Teams: Publications Awards: Categories
All
Archives
July 2024
Past
Design Teams: FTC Declaration:
**As a designer I occasionally receive product(s) to use in some of my posts. Some posts may contain Affiliate links at no cost to you.** Stamps and other products shown on this website/blog may have been donated for promotional purposes by the company(ies) named in the post. All opinions are my own and Affiliate links and programs help to support my family and keep this site going. Disclosure Statement for Affiliate Links Policy is valid from: 31 December 2013 To get your own policy, go to: www.disclosurepolicy.org |

















 RSS Feed
