|
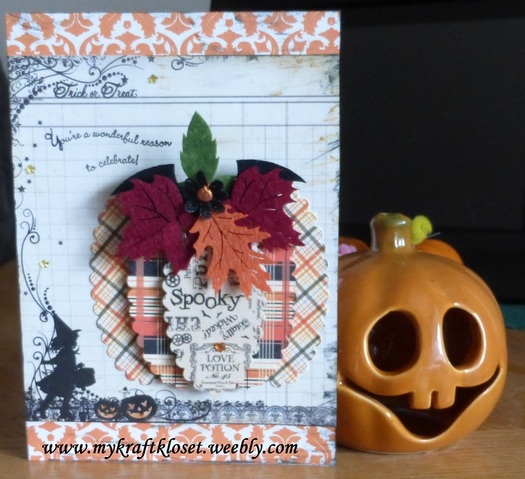
My mother-in-law's birthday is on Oct 31st and she loves all things Halloween. This year's card I wanted to incorporate a patch work type pumpkin I've been seeing all over social media. When you use pattern papers together in similar color families, or theme, they coordinate nicely. As I did with orange and black...
0 Comments
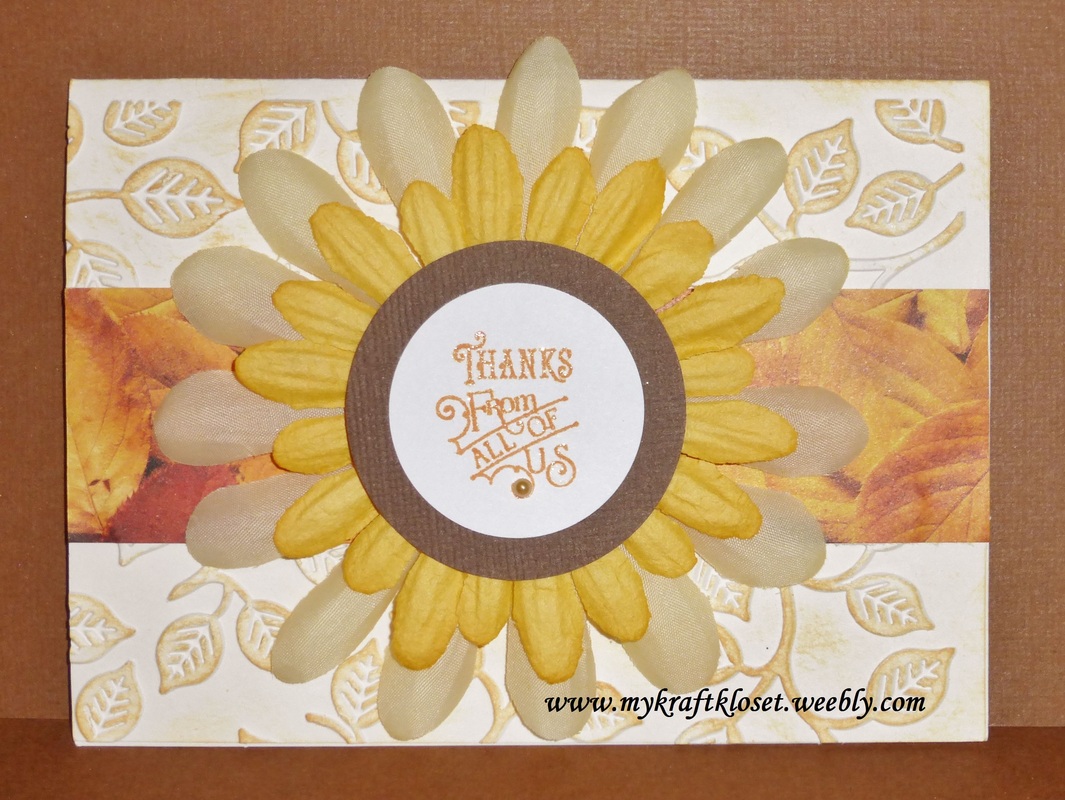
My craft club decided to help a fellow craft friend out and make cards for our US soldiers stationed in Hawaii. I am proud to say we made over 300 cards for our US soldiers and their families to say "thank you" for your service and sacrifices...see more below...
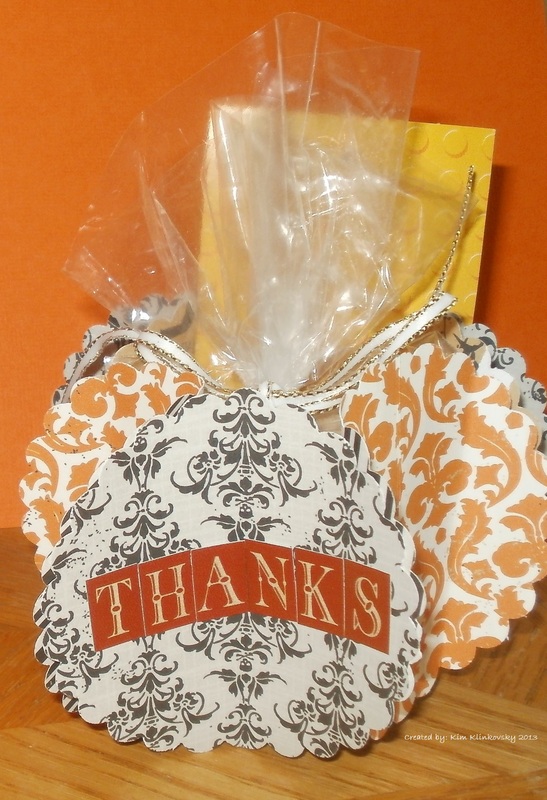
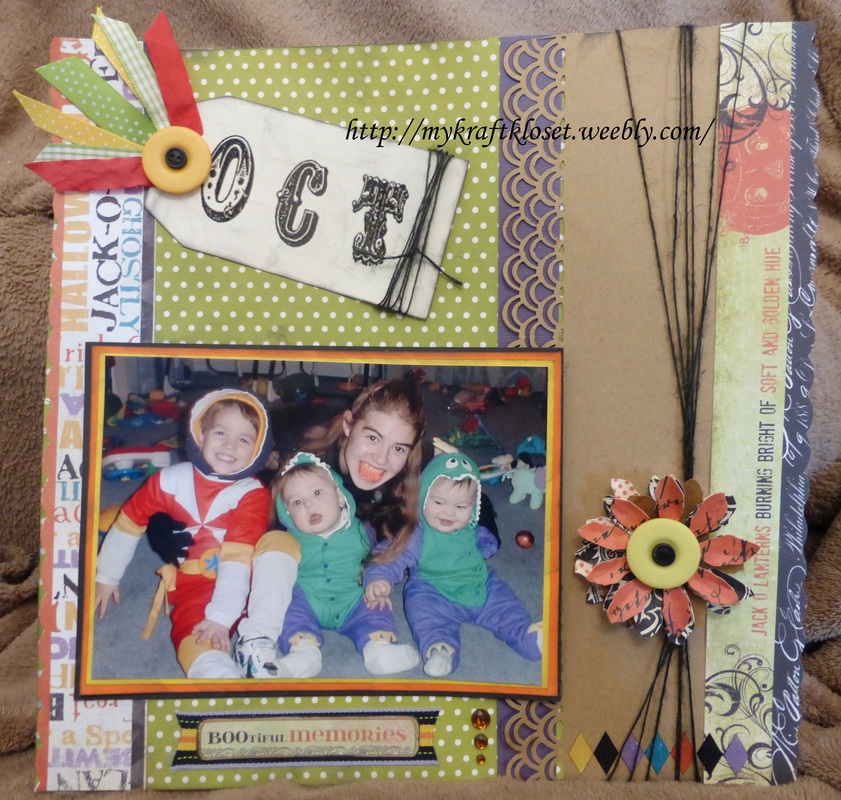
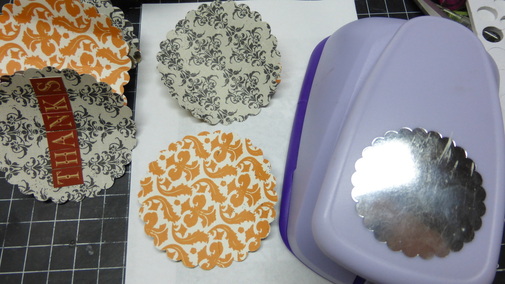 A treat box for any occasion, right at your fingertips, even your kids will be excited to help too! Punch out nine circles with a 3" scallop circle punch and fold each circle in half. Take two circles, match them up, glue dot each side ( I used about 3 glue dots on each side), and repeat until you have a complete circle. You could use staples or eyelets and thread ribbon to hold the circles together too. Take your last circle, which will be the bottom circle, and hot glue your attached circles around the bottom edges and place on the bottom circle for stability. Hold in place until it cools and add "thanks" stickers. I added a sandwich baggie full of treats, tied a metallic ribbon around it, and added a gift card for one of my kids teachers. And there you have a fast, little project for Halloween treats, thank you gifts, holiday gifts, and so much more! Supplies: Echo Park "The Apothecary Emporium" printed paper Graphic 45 "Olde Curiosity Shoppe" Alphabet Sticker sheet 3" scallop circle punch by Marvy Uchida Glue dots small Hot Glue Gun I LOVE Halloween so much I created an album just for scrapbooking our Halloween Memories. I created this page from some of my favorite things and favorite papers. I started with a 12x12" piece of kraft cardstock as my base. I used another piece of kraft cardstock, border punched the edge, backed it with purple cardstock, and adhered to the base page. Then layered several printed papers that all coordinated together and border punched down the left and right sides. I like how the colors, swirls, and edge punches all coordinate together.
I drew inspiration from the colors in my kids costumes and added a double matted border around their picture and adhered to the page. Added diamond rub-ons to the bottom right side that matched the colors on the page. Wrapped the page with black twine that resembled a spider web. Flowers aren't just for Spring and Summer anymore, as I embellished with a flower die cut to create a "spooky" embellishment by using Halloween printed paper. Cut 3-4 flowers out and layer each flower with black mini pop dots for added dimension, add layered buttons, and adhered to the page with glue dots. Stamp sentiment "OCT" on an office tag or die cut tag, heat emboss, ink edges, and wrapped with black twine, and adhere to page. I love ribbon, buttons, and gems. So I had to add them to this scrapbook page too. I cut several different ribbon pieces, scraps would work too, that coordinated with this page and adhered them to the office tag, added layered buttons, and adhered with glue dots. Add a sticker over the bottom ribbon for an extra title and added gems for some sparkle. I find glue dots work the best for adhering ribbon, buttons, and gems. I hope I have inspired you to make something "spooky" of your own. ~Kim Supplies: Bazzill Kraft Cardstock;Fancy Pants "Oct 31" printed paper, ribbon, buttons, and rub ons; Big Shot; Flower die cut; Tag die cut; Tim Holtz Cirque Alphabet stamp set; Versamark watermark clear ink; Inkadinkadoo Black embossing powder; Heat gun; American Crafts ribbon and twine; Martha Stewart double loop border punch; Fiskars scallop border punch; Hero Arts adhesive gems; 3D black mini pop dots; Glue Dots micro and small; Tombow MONO Adhesive Permanent runner Happy Birthday lil' Sister!
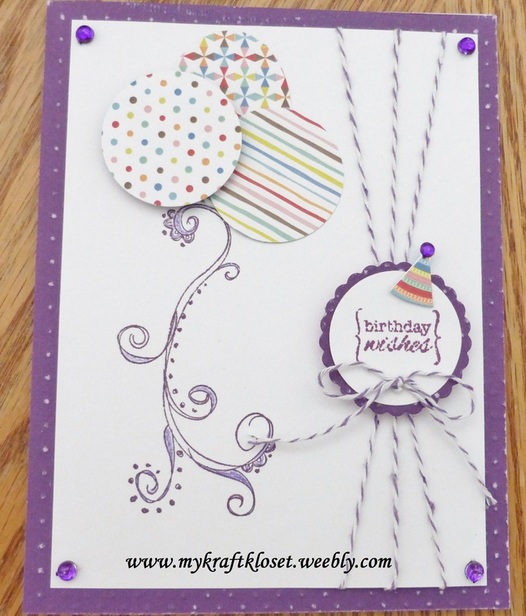
Yes, our Fall birthday's continue. I love Fall A LOT and usually make everybody cards with a Fall theme, but for my sister this year I wanted to do something different. One of her favorite colors is purple, so this is me, going all out for purple...see tutorial below... Happy Birthday, babies!
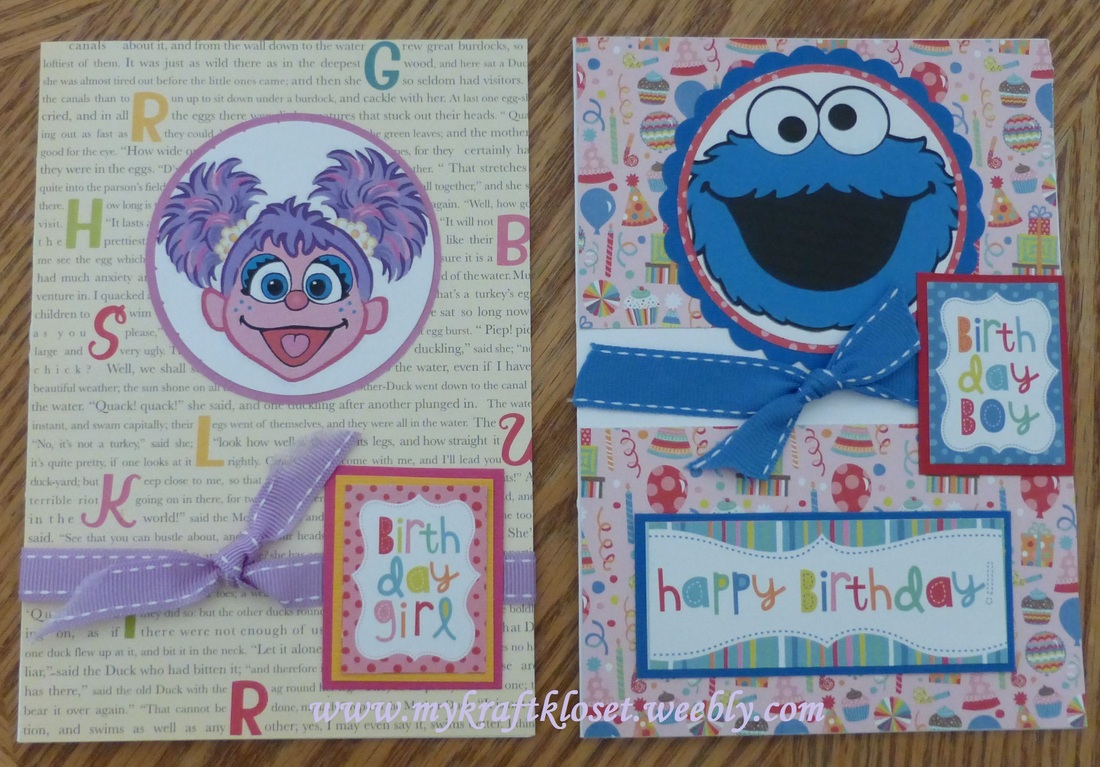
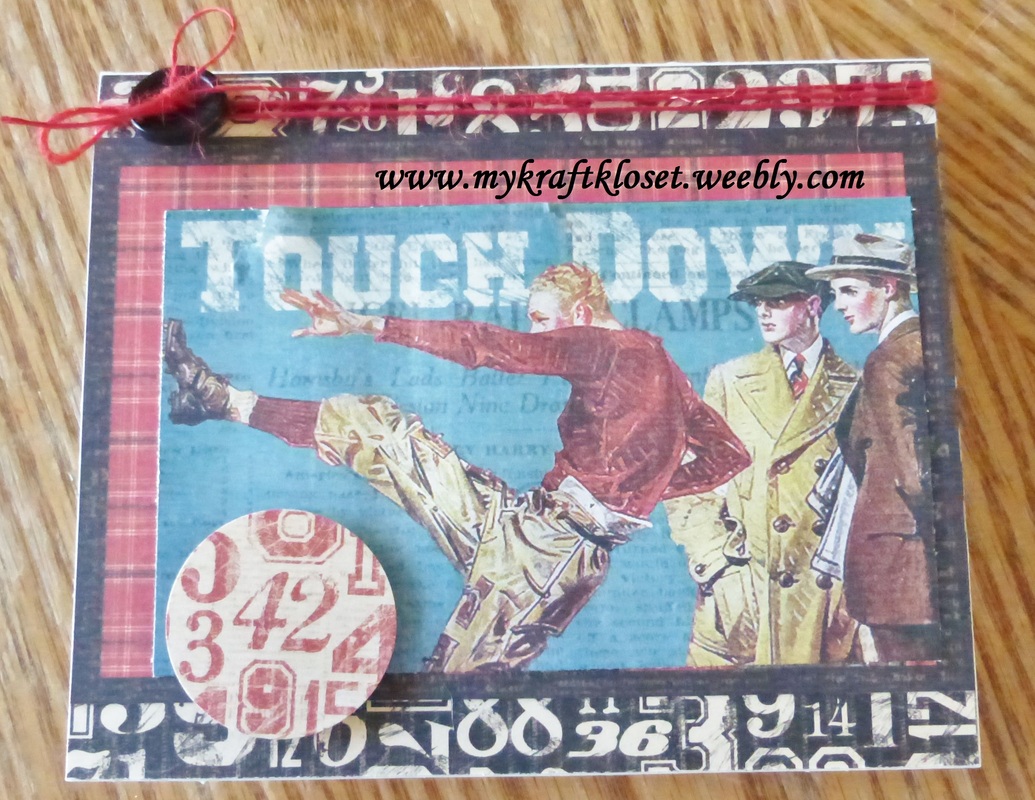
My adorable twin niece and nephew turned 1 year old this month. What a year and so blessed they have joined our family! As I've mentioned before, there are A LOT of Fall birthdays and A LOT of cards to share with you this month. These adorable Sesame cards I created from free clip art I found on the internet and just printed them on white cardstock via my color printer. The clip art was already colored in, so I didn't have to do that step. But you could totally print it in black/white and color it in yourself. I've been playing around with layering, punches, and framelits lately and these creations are what came out of that. It's not often I get to make a "girly" card, so I enjoyed searching for purple and pink things to compliment this card, and thought "Abby Cadabby" resembled my niece. My happy, smiling nephew always has his mouth open, so "Cookie Monster" definitely worked for his card. Supplies: Bazzill solid cardstock October Afternoon "sidewalks" 6x6 paper pad My Minds Eye "hootenanny" 6x6 paper pad American Crafts Premium ribbon Sizzix Circle Framelits 2.5" and 3" Circle punches 3" Scallop circle punch Glue Dots small Tombow MONO Adhesive Permanent runner 5 x 7" finished card sizes This is the card I made for my Dad. Happy Birthday, Dad! Yes, another Libra...we have a bunch of them in the family! Even with my husband and three boys, I still find it really hard to make masculine cards. There just isn't enough good patterned paper out there for masculine cards. I've been dying to use this sporty paper for months and finally got around to making something with it. I thought the "football" theme went pretty well with the Fall season and my Dad LOVES football. Believe it or not, but I did NOT stamp at all on the front of this card...just the inside has a simple stamped birthday sentiment. And I think it turned out pretty good, I just cut and layered different paper pieces from the same collection. I love the red plaid against the black random numbers. It reminds me of football jersey numbers. I love to collect 6x6 collection pads for card making. The paper pads make it easy to coordinate the different patterns and colors.
Supplies: Graphic 45 "Good ol' Sport" American Crafts red twine Doodlebug Button 3D pop dots Tombow MONO Adhesive Permanent runner 5" x 7" finished card Share my Facebook page with all your your friends and family so they can get in on all the daily craft deals, giveaways, and projects too. When we reach 200 "likes" I'll GIVE-A-WAY another crafty bundle!
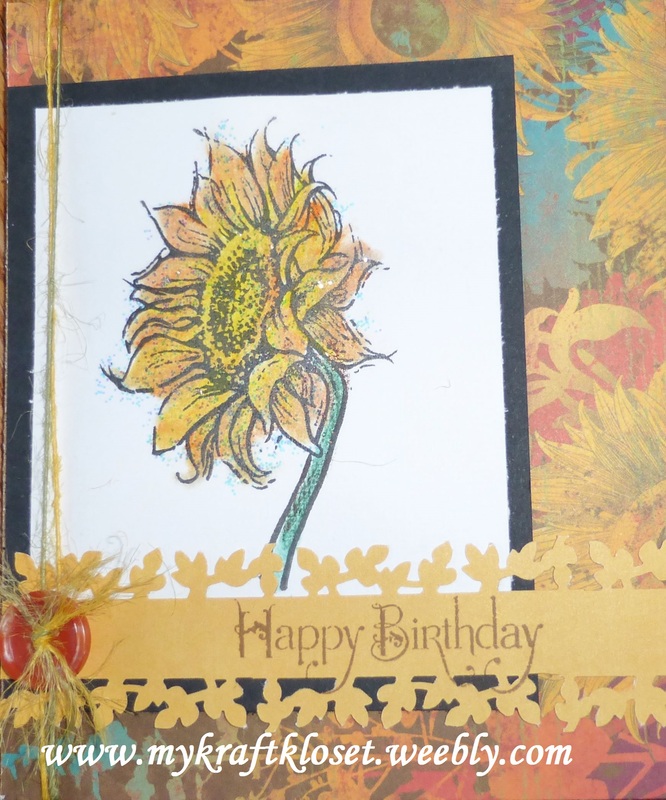
Thanks for your support! Facebook: https://www.facebook.com/KraftKloset 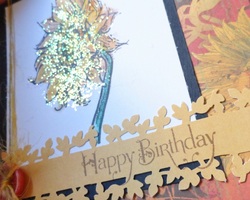 This is the card I made for my mom. Happy Birthday mom! I have loved this stamp set for a while now and I finally made a card with it. As with a lot of our supplies, we "collect" them and don't use them right away. So, I've been challenging myself every month to pick a stamp set I haven't used and make something. Next month I will show you my Christmas card I'm making with a stamp I've never used. I challenge you to do the same and USE your crafts! Sorry, this stamp set and printed paper is discontinued, but you might find it on eBay or Amazon. But you can still use other types of Fall printed paper or other sunflower stamps to recreate this card. It's a great design for any occasion any time of the year. Supplies: Bo Bunny "Forever Fall" pattern paper Bazzill black and white cardstock Close to my Heart "Friendship Bouquet" stamp set Ranger/Tim Holtz Distress Ink "Twig" Stampin Up watercolor crayons H2O brush Crafty Secrets clear art stamps "Grand Greetings" Fiskars leaf border punch Ranger stickles "icicle" glitter glue American Crafts twine button Glue Dots micro Tombow MONO Adhesive Permanent runner 5" x 7" finished card I entered this card in: Little Red Wagon-Challenge #297 ~ Birthday Theme The Paper Girl's 82nd Challenge: HAPPY BIRTHDAY!!! October is my favorite month, always has been, with the leaves changing colors, pumpkin flavors, Halloween, and the crisp air. It just makes me happy! My house faces west looking straight at the Rocky Mountains and when I'm outside I can feel and smell the air changing. It gets fresh, cold, and crisp, like just fallen snow. Winter will soon be upon us. My sister and I have birthdays this month and my twin niece and nephew, who will be one years old, share birthdays with us this month too. So, it's a busy month for card making at my house.
It also inspires me to get organized and get prepared for the holiday card season. The last few years I've made 75-100 cards for my friends and family. I need lots of space when I start making Christmas cards. I usually start in September or October gathering ideas, stamps, ribbon, die cuts, paper, embellishments and products I'm thinking of using on my holiday cards. I keep them all together in a tote bag. When I'm ready to play around with colors, patterns, and a layout, I have it all in one bag. Once I've decided on a layout and design, I create an assembly line, and do all my paper cutting, stamping, embossing, die cutting, and then put each card together. It makes holiday card making so much easier. What are you making this month? Whatever it is, take time, go outside, see the leaves changing colors, play in the leaves, take pictures of the beauty around you and enjoy Fall. Are you celebrating World Card Making Day this weekend? Click here for more info: http://www.worldcardmakingday.com/index.html |
Hi! Welcome to
My Kraft Kloset I'm Kim Klinkovsky, a Published Card Maker, Blogger, Scrapbooker, Jewelry Maker, Wife to an US Army Veteran, Mom to 4 kids (including twins) and this is my crafty place. It's interrupted by life, fueled by coffee & sweet tea or a cocktail--Ha! And where I share all my crafty adventures. *** Follow Social Media Channels above to see more! ©2013-©2024 *** ***
I, Kim Klinkovsky am the legal copyright holder ©2013 - ©2023 of all the material (pictures, text, & artwork) on this website and blog. It may not be used, reprinted, copied, submitted, sold, or published without my written consent. *** I'm on a couple Design Teams and in a few affiliate programs that have given me products to try or use, but my opinions are my own and I use what I like. Affiliate links are listed below and listed in the supply lists of my projects. They allow me to receive a small commission if you click on those links or purchase any products, at no extra cost to you. It helps me contribute to my family & keeps this blog going. Thank you for your support! Affiliate Links:
Design Teams: Publications Awards: Categories
All
Archives
July 2024
Past
Design Teams: FTC Declaration:
**As a designer I occasionally receive product(s) to use in some of my posts. Some posts may contain Affiliate links at no cost to you.** Stamps and other products shown on this website/blog may have been donated for promotional purposes by the company(ies) named in the post. All opinions are my own and Affiliate links and programs help to support my family and keep this site going. Disclosure Statement for Affiliate Links Policy is valid from: 31 December 2013 To get your own policy, go to: www.disclosurepolicy.org |














 RSS Feed
