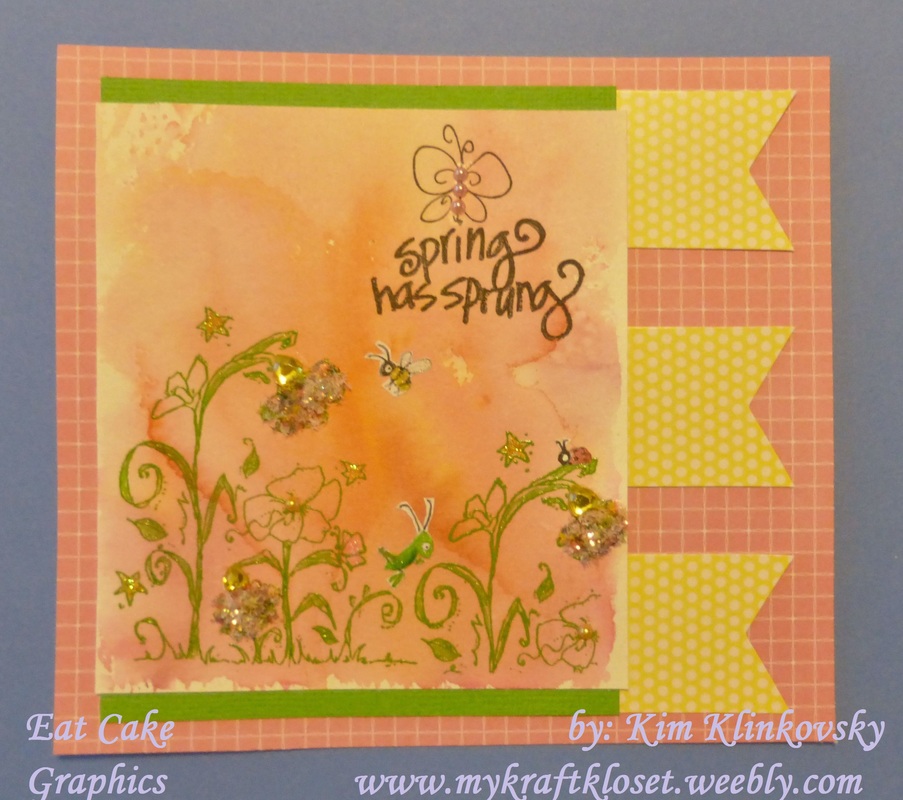
April showers bring May flowers and these magical flowers by Eat Cake Graphics stamps are buzzing with activity. I don't know about you...but we've had 30 straight days of rain and the flowers and trees are budding and blooming everywhere. If you're area has been hard hit by traumatic Spring weather I hope your safe and you're in our thoughts. 
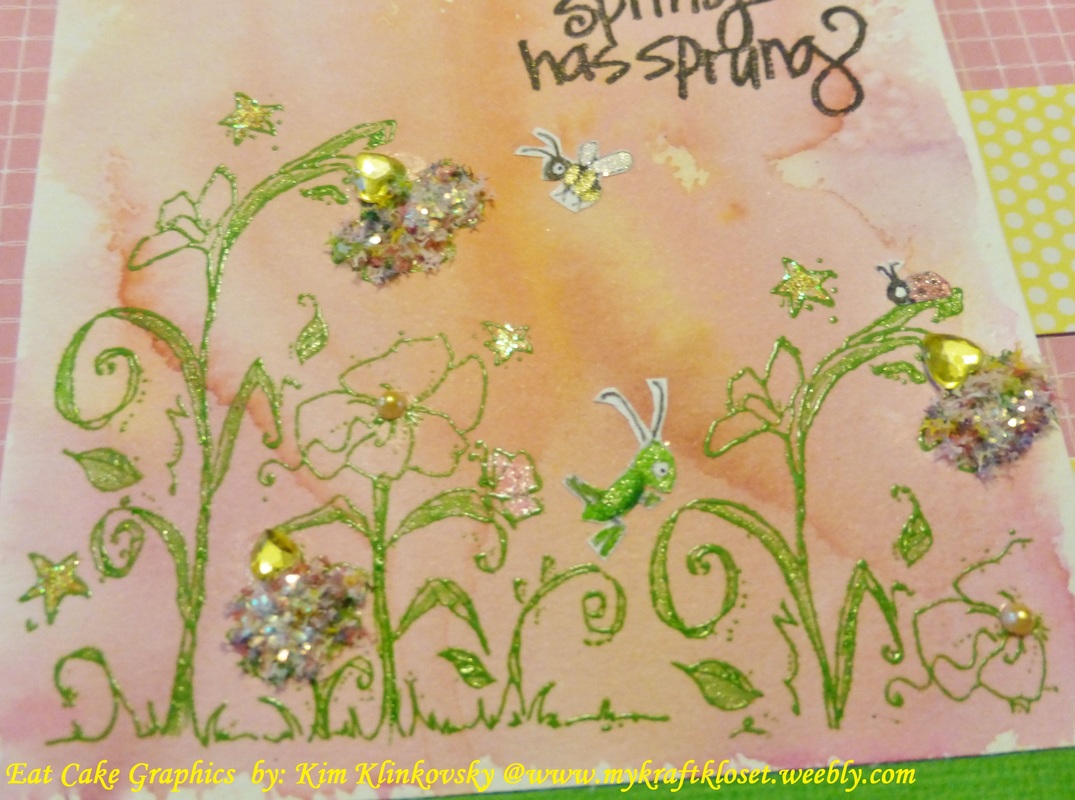
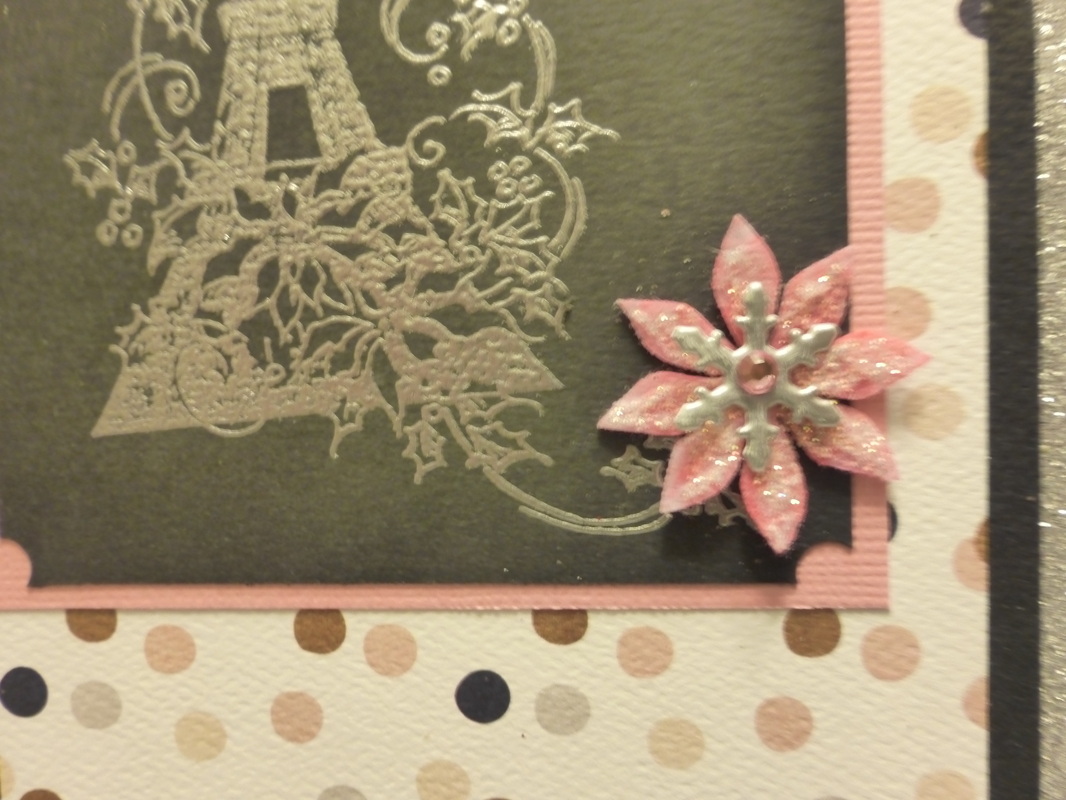
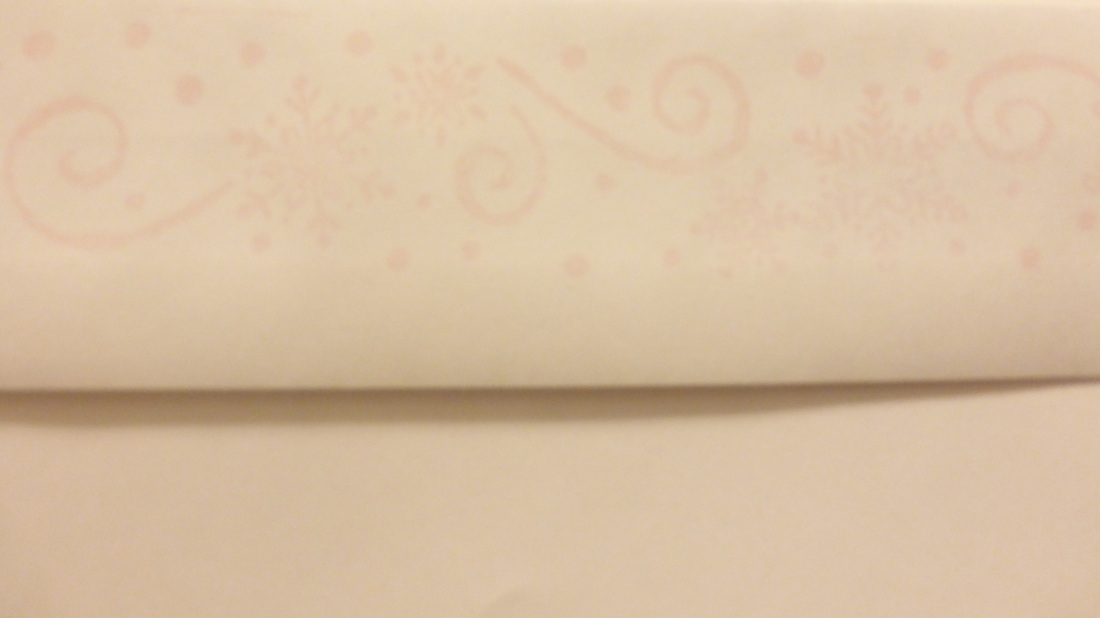
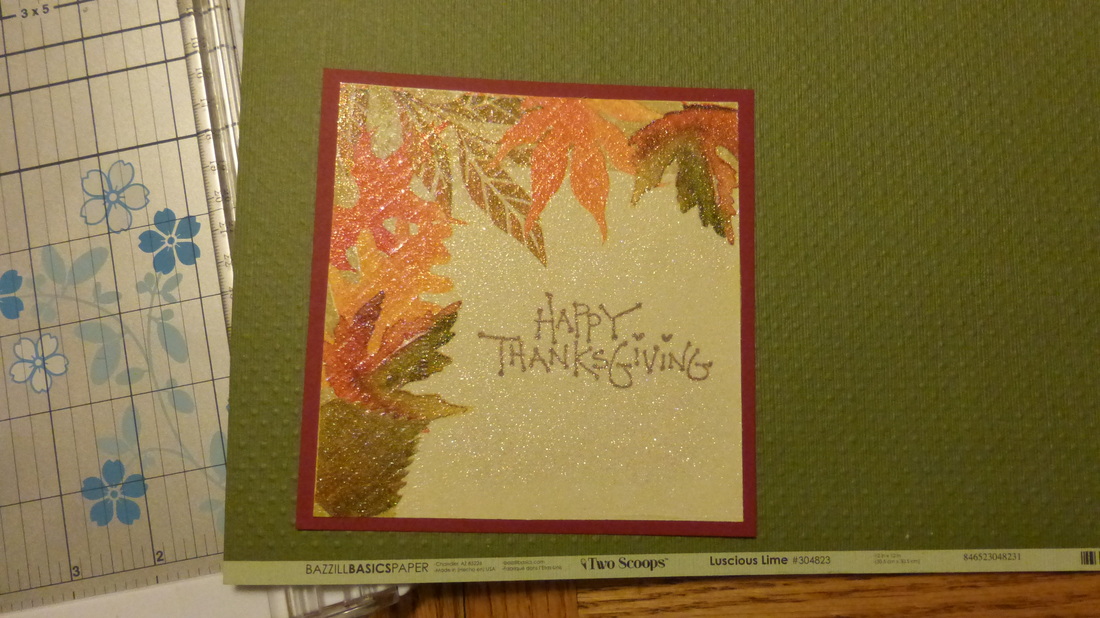
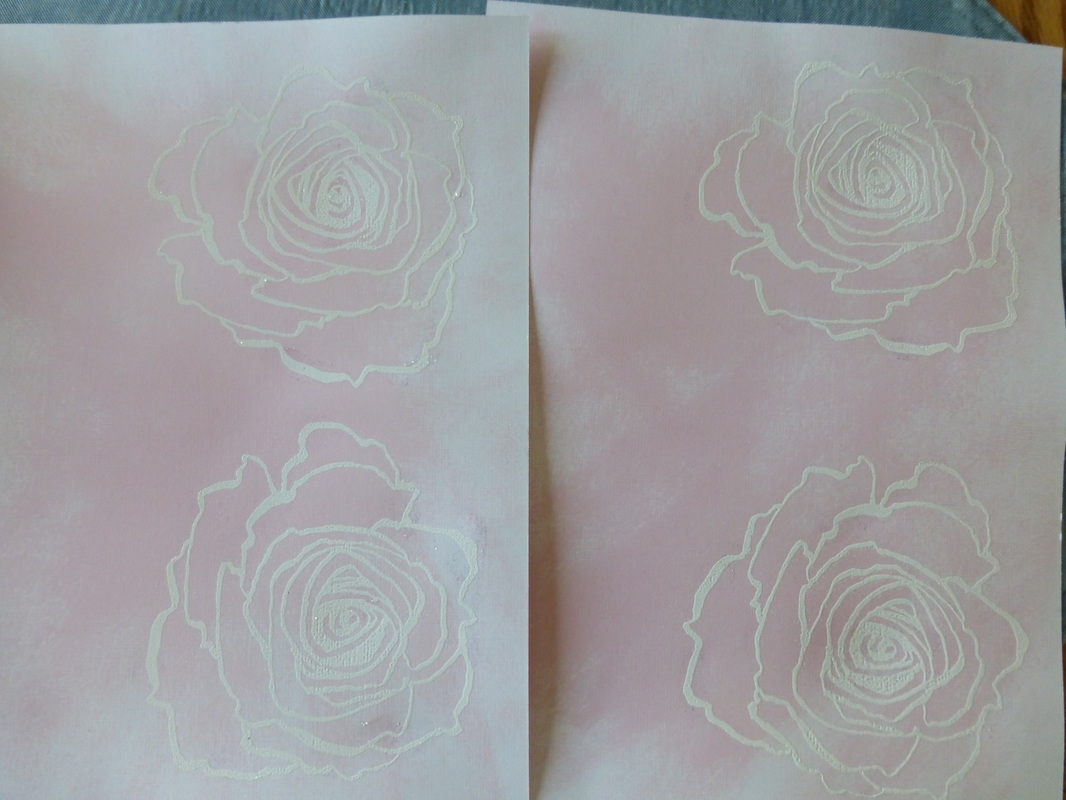
Here is a close up so you can see the unique mottled watercolor background, the fuzzy or mossy effect of the flower soft, and the sparkle everywhere...
2 Comments
Spring in the Rockies usually means Mother Nature isn't done snowing on us...which she isn't. We got a couple more inches of snow last week and a few flakes this week, but it didn't stay long, because the ground is warm and the sun came out. So, I thought this card was appropriate for a Colorado Spring, as my three sons are always up for a snowball fight.
This adorable card is a 6" x 6" square, so extra postage will be needed for mailing, but it's also my first shaker card. I knew when I saw this adorable snowball stamp from Unity Stamps I wanted to make it feminine. And the Eat Cake Graphics sentiment stamp went with it perfectly... Scrap It Girl announces on the 1st of each month a new craft challenge that I hope you all will participate in. You have until the end of each month to create and submit your creations for a crafty prize, a winners badge for your blog or social media, and recognition for your work. SIG Designers will then vote for their favorite and the winner will be announced on the 1st of the following month.
April Color Challenge: Black, White & 1 Other Color! (click here for more info)... A modern Christmas card with a tale to tell...once upon a time, I had a stamp I wanted to use. It was of the Eiffel tower wrapped in holly. When I think of the Eiffel tower, I think of pink and black and a card was born. I have never created a modern card before and certainly not a pink Christmas card, as I knew my husband would be thrilled. NOT! LOL...but once it was finished, he did like it.
I knew I wanted pink and black. I started back in August gathering up products I had, or found around town, and putting them in a tote bag. Every time I had an idea or a product I wanted to use, it went in the tote bag. I do this every year. So, when I'm ready to create I have all my ideas and products in one tote bag. Makes life a little easier...See tutorial below... Napkin cards are still all the rage and there are so many tutorials and videos using all kinds of products. So, I decided to use what I had and simplify it. And it worked really well. As you can see I only used a few supplies...
It's currently 4* degree's outside, maybe colder with a wind chill factor, and my craft room is in my basement...so I am NOT down there. But my desk downstairs would look pretty much like this too! LOL. No matter how many layers I put on, it's too cold to be down there. So, I've taken over my dining room table, while my kids are at school, and this is what it looks like when I make cards. I surround myself with my "stuff." Don't you? I love my 1x1" Tim Holtz mini distress inks, many punches make life easier, and all kinds of ribbon.
I've got a few more birthday cards to make, and maybe some Thanksgiving cards, before I can work on Christmas cards. So, I will post those cards soon. What are you working on? Do you make Thanksgiving cards or Christmas cards? Don't forget to check out my crafty pages for daily deals or ideas on craft products for your upcoming holiday cards/gifts: I LOVE Halloween so much I created an album just for scrapbooking our Halloween Memories. I created this page from some of my favorite things and favorite papers. I started with a 12x12" piece of kraft cardstock as my base. I used another piece of kraft cardstock, border punched the edge, backed it with purple cardstock, and adhered to the base page. Then layered several printed papers that all coordinated together and border punched down the left and right sides. I like how the colors, swirls, and edge punches all coordinate together.
I drew inspiration from the colors in my kids costumes and added a double matted border around their picture and adhered to the page. Added diamond rub-ons to the bottom right side that matched the colors on the page. Wrapped the page with black twine that resembled a spider web. Flowers aren't just for Spring and Summer anymore, as I embellished with a flower die cut to create a "spooky" embellishment by using Halloween printed paper. Cut 3-4 flowers out and layer each flower with black mini pop dots for added dimension, add layered buttons, and adhered to the page with glue dots. Stamp sentiment "OCT" on an office tag or die cut tag, heat emboss, ink edges, and wrapped with black twine, and adhere to page. I love ribbon, buttons, and gems. So I had to add them to this scrapbook page too. I cut several different ribbon pieces, scraps would work too, that coordinated with this page and adhered them to the office tag, added layered buttons, and adhered with glue dots. Add a sticker over the bottom ribbon for an extra title and added gems for some sparkle. I find glue dots work the best for adhering ribbon, buttons, and gems. I hope I have inspired you to make something "spooky" of your own. ~Kim Supplies: Bazzill Kraft Cardstock;Fancy Pants "Oct 31" printed paper, ribbon, buttons, and rub ons; Big Shot; Flower die cut; Tag die cut; Tim Holtz Cirque Alphabet stamp set; Versamark watermark clear ink; Inkadinkadoo Black embossing powder; Heat gun; American Crafts ribbon and twine; Martha Stewart double loop border punch; Fiskars scallop border punch; Hero Arts adhesive gems; 3D black mini pop dots; Glue Dots micro and small; Tombow MONO Adhesive Permanent runner Have you seen this technique before? It's just stunning and all the rage these days. I did not make this card pictured above, a lovely person from SU did, but I am going to test this out myself. I will post my creations when I do. This gorgeous floral print is actually a napkin. Seriously! So, run out to all your favorite dollar stores and stock up on napkins. You can get 4 cards out of one napkin. Genius!
Pull napkin apart to one layer, open it up to reveal the 4 sections of the napkin. Cut 1/4 section out and adhere to cardstock. Stamp Versamark clear ink all over napkin, sprinkle SU heat and stick powder, and heat. It will be left sticky. Than sprinkle with glittered embossing power, heat, and set. Voila! This incredibly amazing result. Now, I don't have this heat and stick powder and I here you can use UTEE powder. Some have used clear embossing powder, then a glitter embossing powder and all kinds of products. I'm going to try and make mine simple and just use the Versamark ink over the top, like normal embossing and see what happens. Now you go ahead and try it. Once you do, you too will be hooked! Check out how to make them here: You Tube Update: So you can totally do this easier with supplies you already have. I did. I ran a piece of white cardstock through my Xyron sticker maker, approx. 4 1/2 x 4 1/2, and then laid the napkin over the top of the sticky side. Making sure it didn't bubble. Ink over the top of the napkin with Versamark ink, sprinkle with iridescent embossing powder, and heat to set. Voila! Gorgeous and very sparkly. My hubby's not too pleased to have sparkles on the dining room table, but he's used to it being everywhere. Now to go play with other embossing powders and see what happens. Happy crafting! I bought this VERY big rose cling stamp (by Stampendous: Cling Jumbo Rose Set #CRS5006) a really long time ago and used it on my Mother's Day cards. Little did I realize I did not have an acrylic block BIG enough to put it on. Panic! No...LOL...well a little. Then I searched around my craft room until I came up with a solution, because I was determined, I was going to use that stamp! My ah ha moment! I could use one of my thick Sizzix dies in the plastic case. Would the stamp cling to it? Yes it did! Pretty good too. I inked my white cardstock with Ranger Tim Holtz Spun Sugar distress ink and dragged the whole ink pad over it. Kind of random in all directions. I inked up the rose stamp with Versamark clear watermark ink (the best pigment ink) and started stamping on the cardstock. I sprinkled Inkadinkadoo White Linen embossing powder over the stamped roses and heat embossed. I stamped and embossed one rose at time and cut them out. I used pre-embossed gray cardstock by American Crafts, but you could make your own with embossing folders, and then I sanded it with a Making Memories sanding block to bring out the pattern. I used two different ribbons by layering a pink polka dot on top of a pink lace for a unique look. Stamp a sentiment, I used "hello" from Stampin Up. Using the pink cardstock scraps leftover from the rose stamp, and punched it out with an oval punch. Inked the edges of a fabric flower and added a pearl. Add some pearl gems to the center of the rose. I found this stamp very versatile and would use it not only for Mother's Day, but for birthdays, and anniversary cards too. Finished this is an A7 card. I promised I'd show you the NFL Denver Broncos Birthday card for a super bowl birthday party this weekend. It turned out really good. I surprised myself and had the right orange and blue Bazzill cardstock. LOL. Here are some of the tools I used: Xyron sticker maker for the navy Pebbles ribbon, spellbinders label frames, stampin up ink, Ranger distress ink, eyelets and the crop-a-dile (LOVE this tool), versamark ink, and chestnut brown zing embossing powder for the "happy birthdays" on the front. Go Broncos!
|
Hi! Welcome to
My Kraft Kloset I'm Kim Klinkovsky, a Published Card Maker, Blogger, Scrapbooker, Jewelry Maker, Wife to an US Army Veteran, Mom to 4 kids (including twins) and this is my crafty place. It's interrupted by life, fueled by coffee & sweet tea or a cocktail--Ha! And where I share all my crafty adventures. *** Follow Social Media Channels above to see more! ©2013-©2024 *** ***
I, Kim Klinkovsky am the legal copyright holder ©2013 - ©2023 of all the material (pictures, text, & artwork) on this website and blog. It may not be used, reprinted, copied, submitted, sold, or published without my written consent. *** I'm on a couple Design Teams and in a few affiliate programs that have given me products to try or use, but my opinions are my own and I use what I like. Affiliate links are listed below and listed in the supply lists of my projects. They allow me to receive a small commission if you click on those links or purchase any products, at no extra cost to you. It helps me contribute to my family & keeps this blog going. Thank you for your support! Affiliate Links:
Design Teams: Publications Awards: Categories
All
Archives
April 2024
Past
Design Teams: FTC Declaration:
**As a designer I occasionally receive product(s) to use in some of my posts. Some posts may contain Affiliate links at no cost to you.** Stamps and other products shown on this website/blog may have been donated for promotional purposes by the company(ies) named in the post. All opinions are my own and Affiliate links and programs help to support my family and keep this site going. Disclosure Statement for Affiliate Links Policy is valid from: 31 December 2013 To get your own policy, go to: www.disclosurepolicy.org |