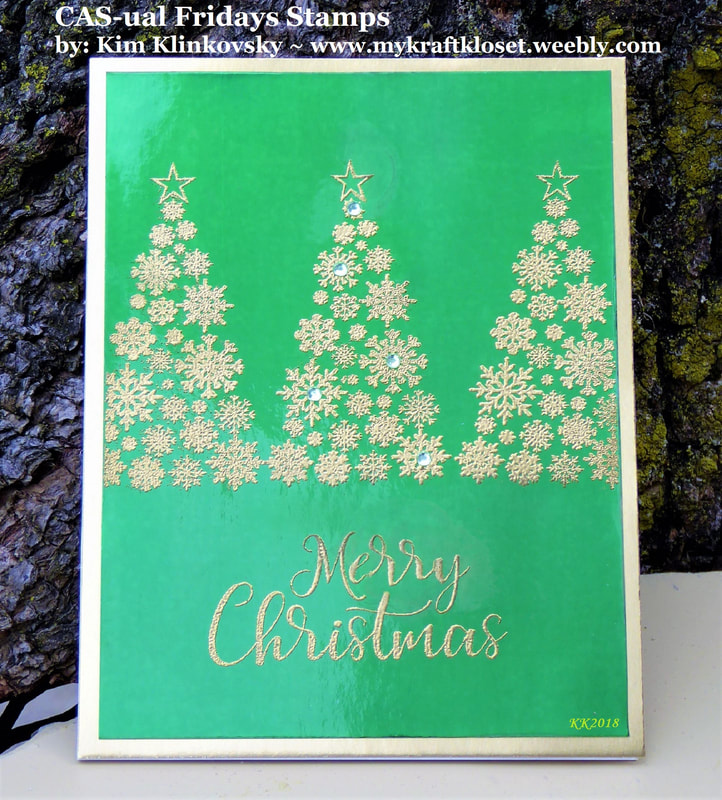
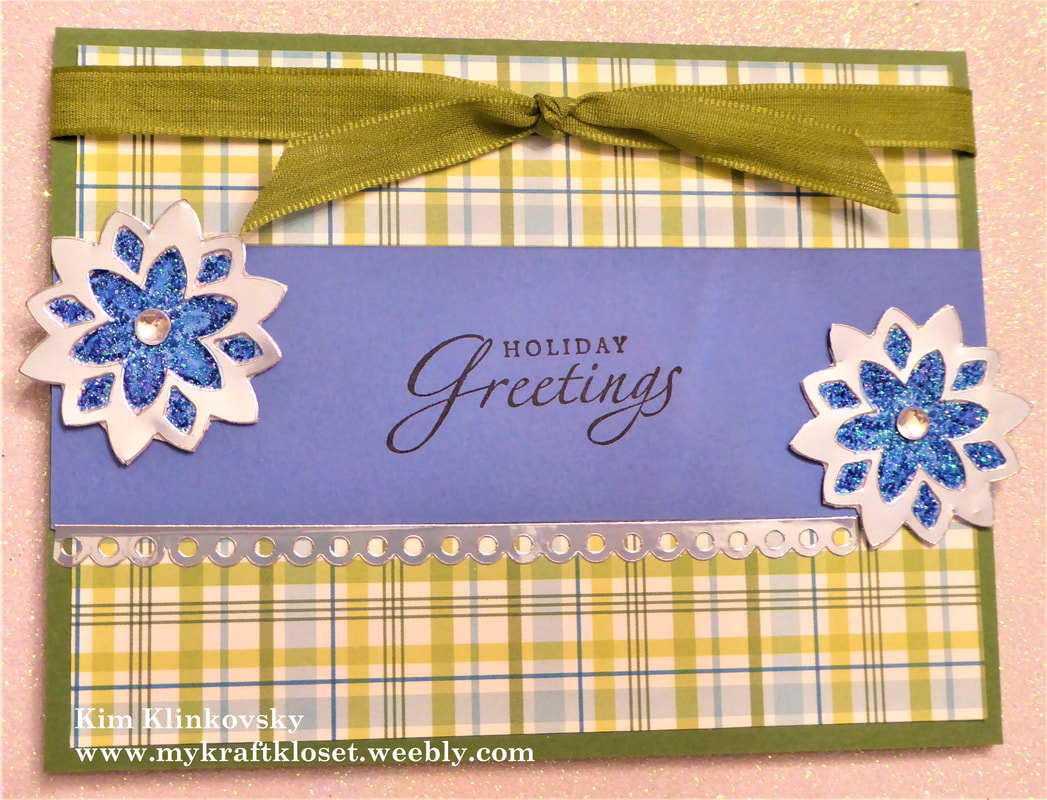
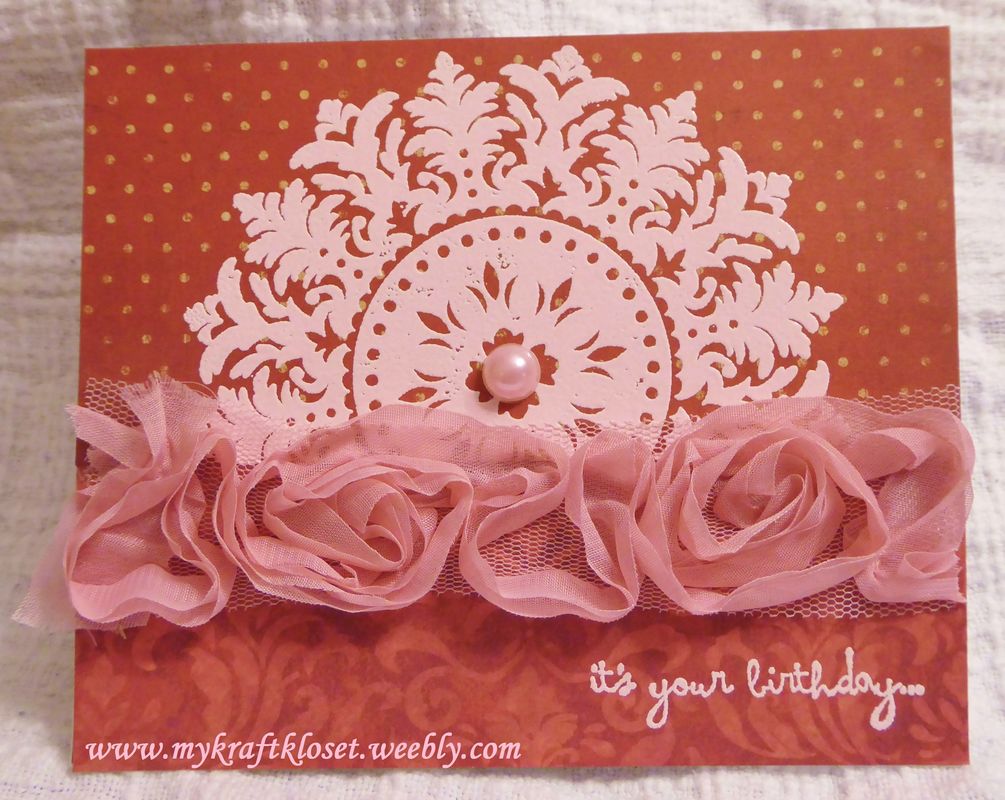
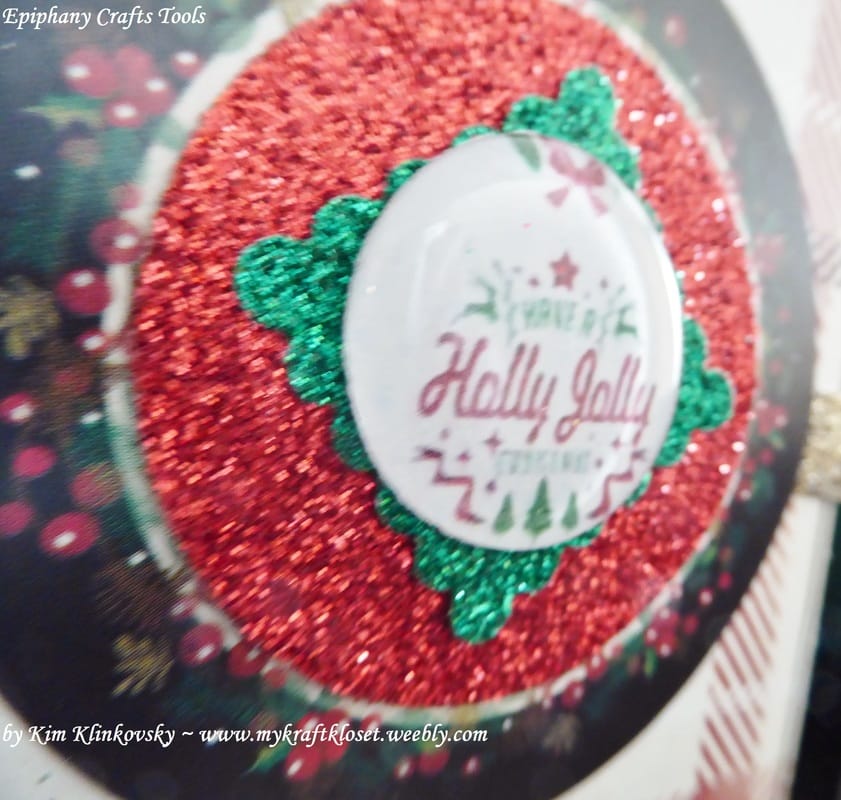
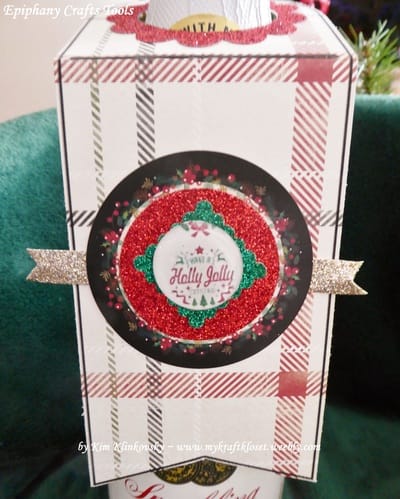
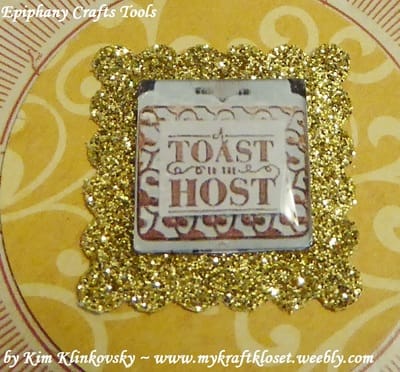
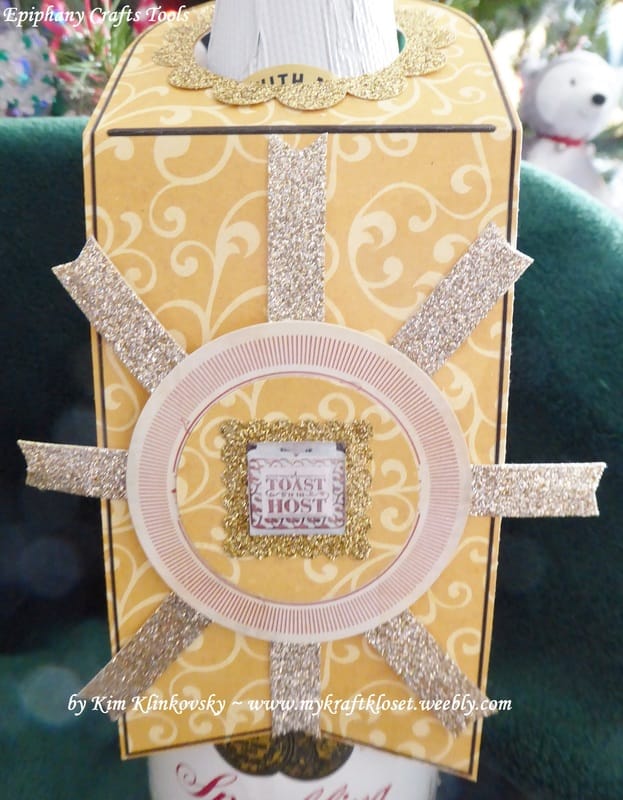
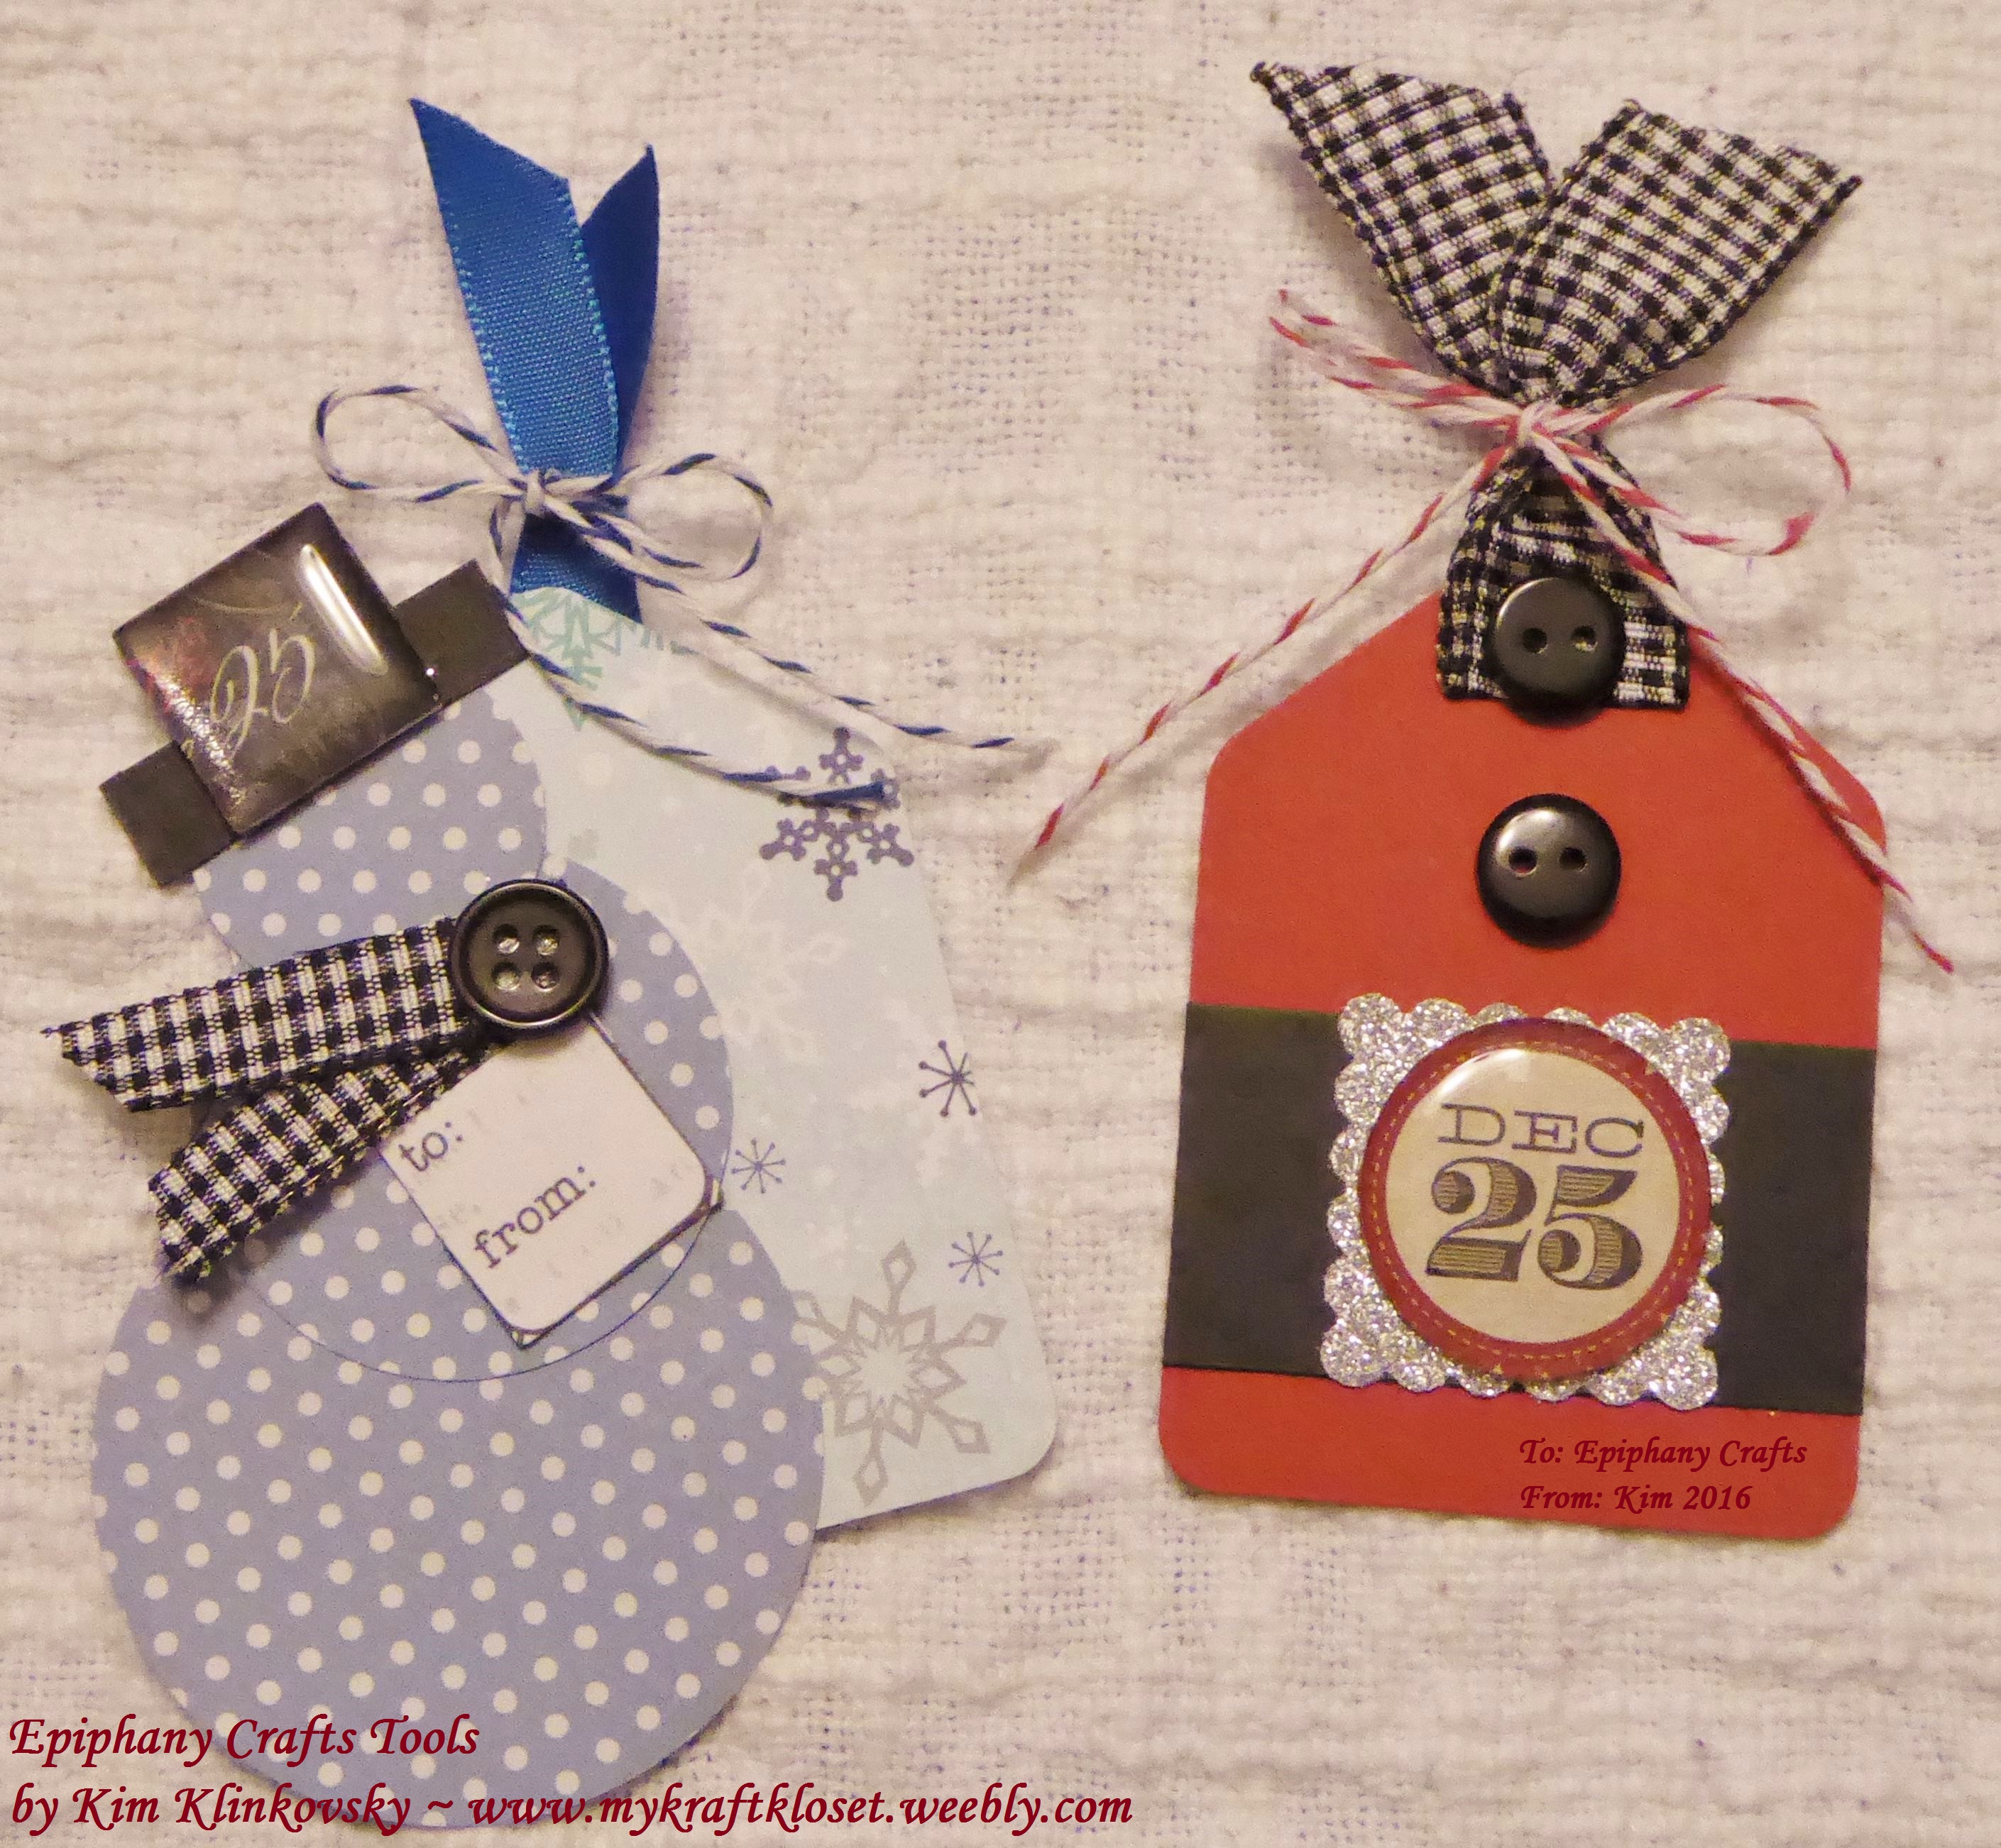
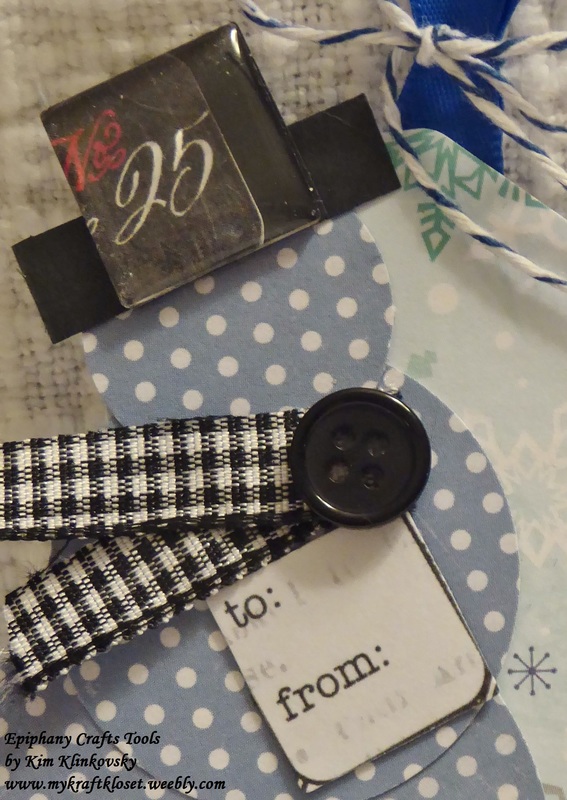
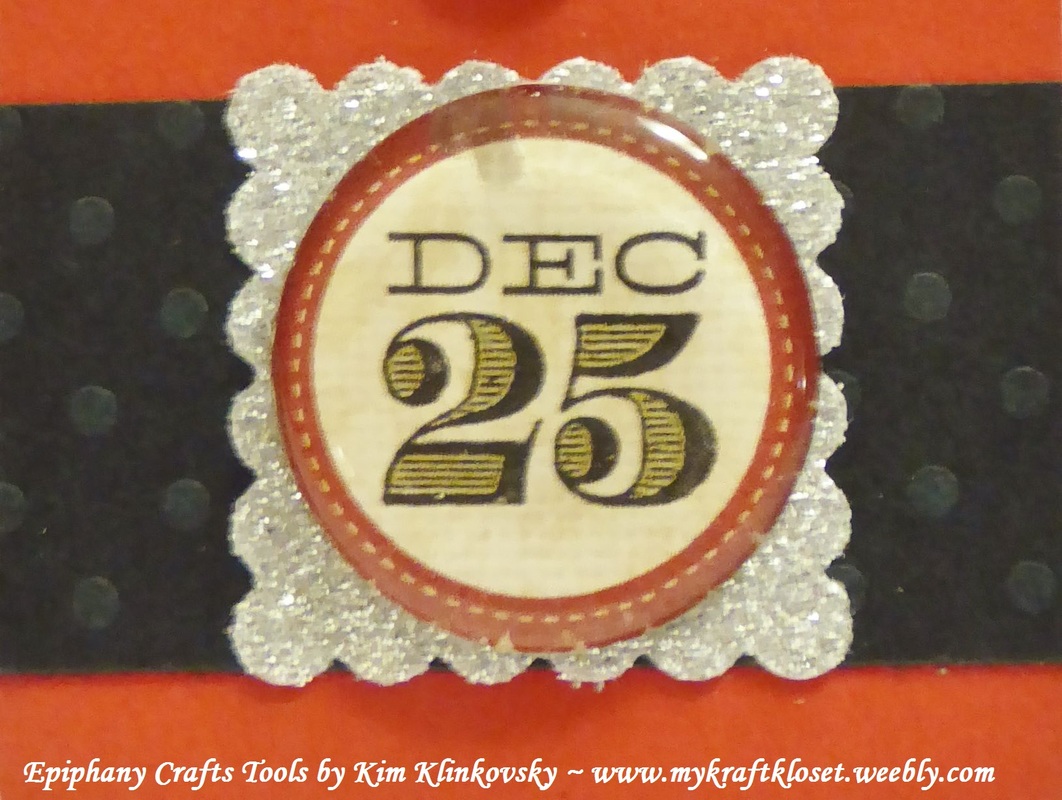
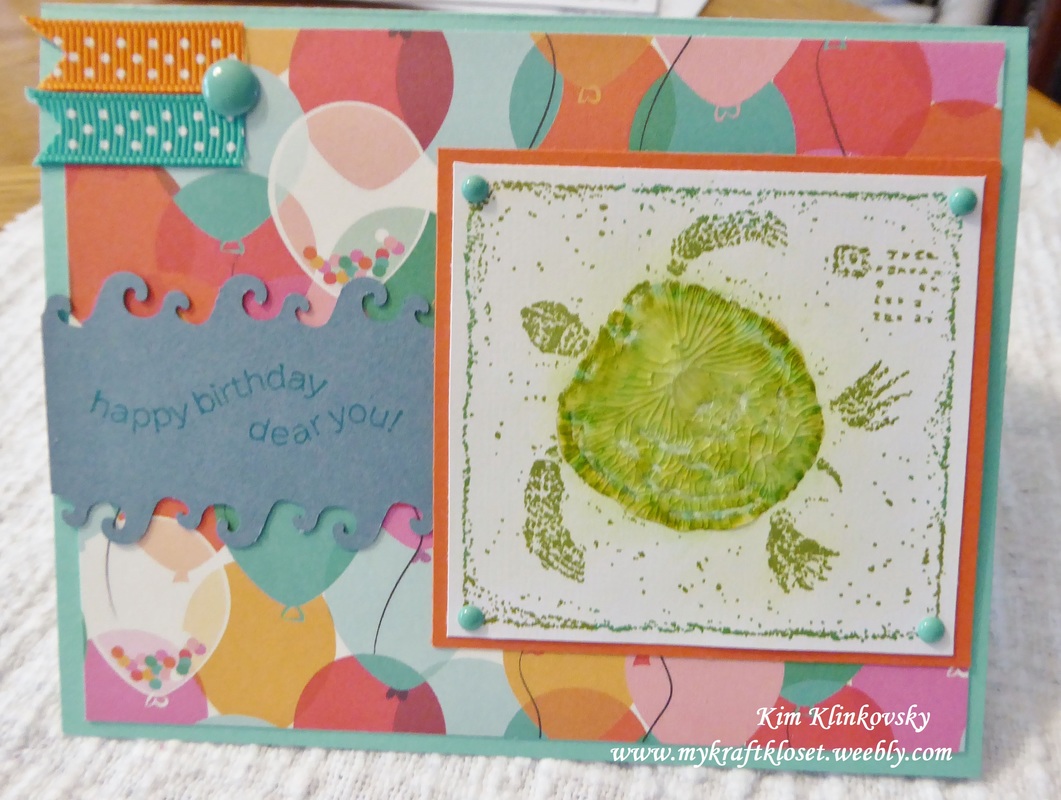
ONLY 9 days until Christmas! You still have time to make this CAS, clean and simple, yet elegant metallic beauty that has no layers you could whip up in no time and is flat for mailing too! While foil is all the rage these days, I couldn't for the life of me find my laminator, it's still in a box some where from my move last year! Crazy right? I know! I may just have to buy a new one...unless I'm on Santa's good list and he's heard my frustrations...I mean wishes! (lol)
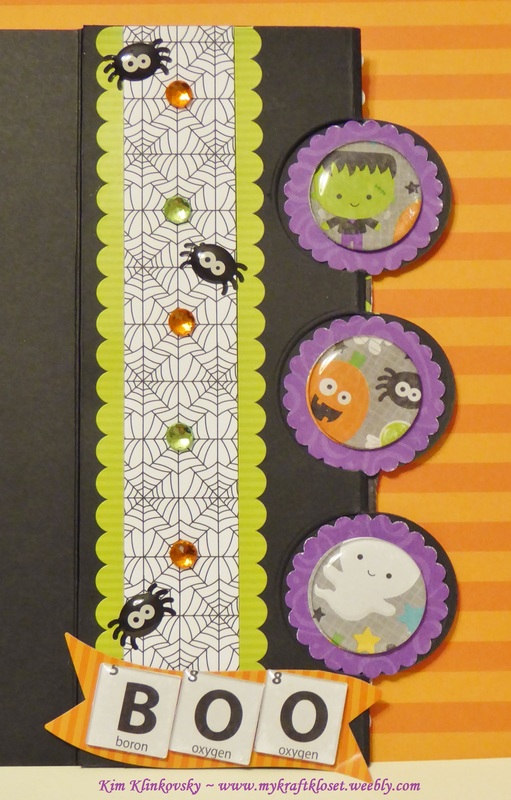
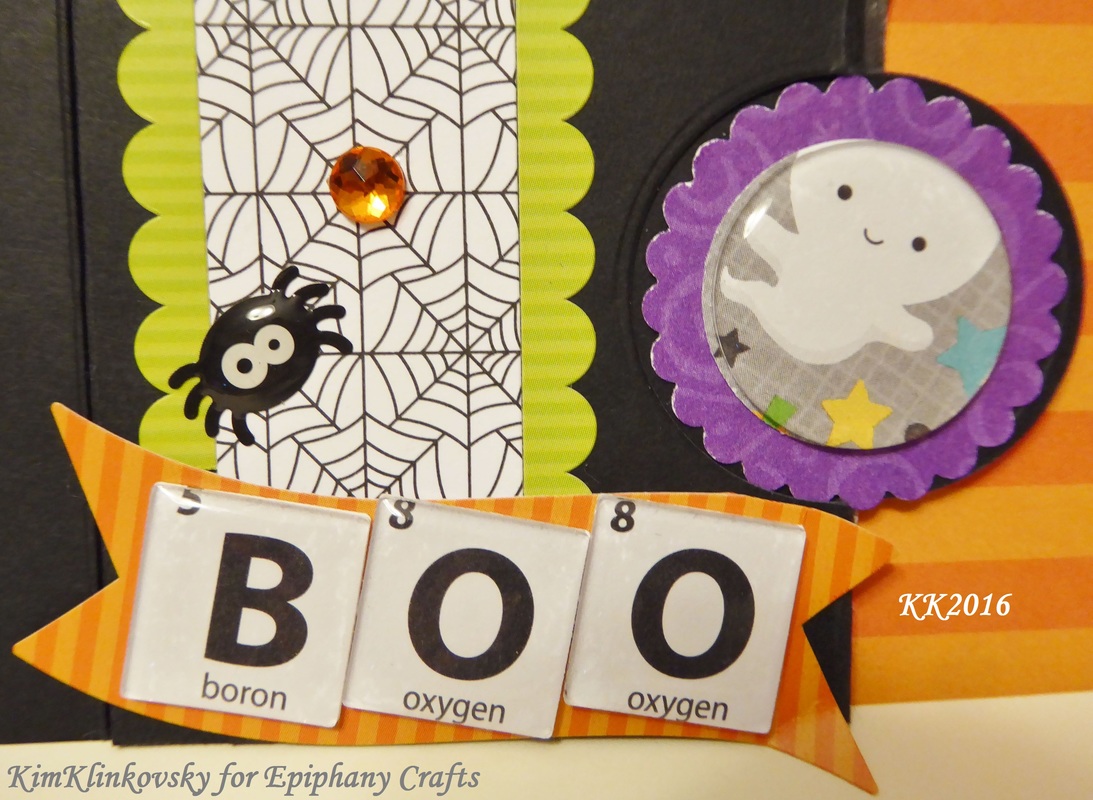
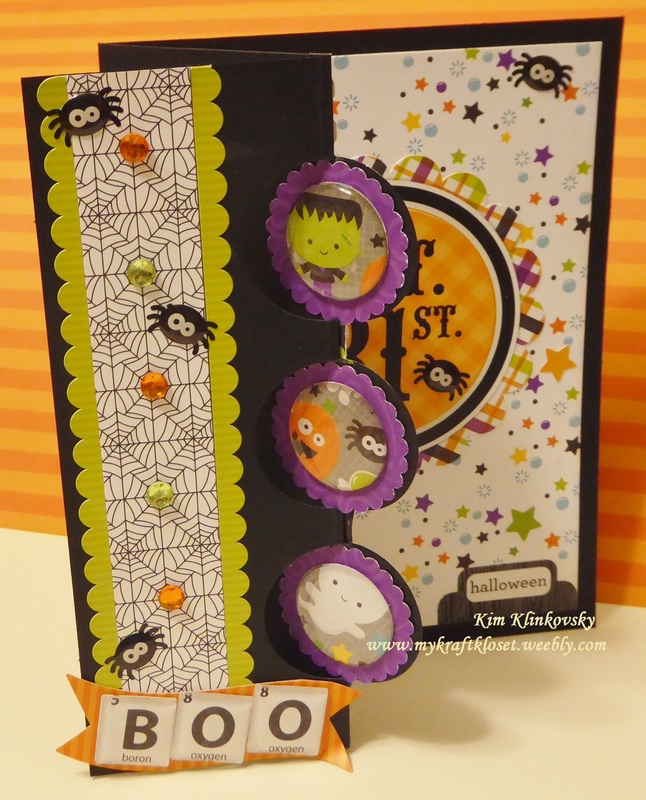
Anyhoo...In the mean time I found an alternative. I had a stack of metallic foiled cardstock in my stash of paper and wondered if you could heat emboss on it. Well, you can, BUT...do it quickly or it will burn or warp your paper. As I had some trial and errors before getting a few perfect ones.
Anyhoo...In the mean time I found an alternative. I had a stack of metallic foiled cardstock in my stash of paper and wondered if you could heat emboss on it. Well, you can, BUT...do it quickly or it will burn or warp your paper. As I had some trial and errors before getting a few perfect ones.
| For more inspiration check out the CAS-ual Fridays Stamps Pinterest |  SAVE with this discount code on your CAS-ual Fridays purchases...anytime...every time! |
For tutorial and more details click Read More ==>


 RSS Feed
